
Start with the right tools
Building a sushi palate begins with the hands and the instruments. You cannot develop a refined sense of texture and flavor if your tools fight you at every turn. A dull knife tears fish; a slippery mat creates uneven rolls. Good equipment doesn't just make the process easier—it teaches you what proper technique feels like.
Focus on three non-negotiable items: a sharp knife, a bamboo mat, and a mixing bowl. These are the foundations of every roll you will ever make.


As an Amazon Associate, we may earn from qualifying purchases.
The knife is your most critical tool. In sushi making, the cut defines the mouthfeel. A serrated bread knife will crush the ingredients, ruining the delicate balance of rice and fish. You need a single-bevel or high-quality double-bevel chef's knife that holds an edge. Sharpness allows you to slice through ingredients without pressing down, preserving the integrity of the rice grains.
The bamboo mat, or makisu, provides the structure. It applies even pressure to shape the roll without squishing the rice into a dense brick. Look for one with tightly bound slats and a smooth finish. Avoid mats with rough edges or loose bands, which can snag nori or leave bamboo fibers in your food.
Finally, the bowl matters more than you might think. Sushi rice is cooked at a high temperature and needs to cool quickly to reach body temperature. A wide, shallow bowl allows steam to escape rapidly. This rapid cooling sets the starch structure, giving the rice its signature sticky yet separate texture. A deep pot traps heat, resulting in gummy, overcooked rice that sticks together too much.
Run your thumb lightly along the flat side of the blade (never the edge). If it catches on your fingerprint, it is sharp enough. If it slides smoothly, sharpen it before starting.
Ensure the slats are tight and the twine is secure. If the mat is old and splintered, replace it. A damaged mat can tear your nori or leave debris in your roll.
Choose a wide, shallow container. If you have a wooden hangiri, use it. If not, a large glass or stainless steel bowl works well. The goal is maximum surface area for cooling.
Prepare sushi rice correctly
Sushi rice, or shari, is the foundation of a good sushi palate. It provides the texture and acidity that balances the fish and vegetables. If the rice is undercooked, sticky, or poorly seasoned, the entire roll falls apart. Getting this step right is the difference between a restaurant-quality meal and a kitchen experiment.
The process involves three distinct phases: washing to remove excess starch, cooking to achieve the right firmness, and seasoning to create the signature flavor profile. Each step requires attention to detail.
Measure your short-grain Japanese rice. Place it in a large bowl and cover with cold water. Gently swirl the rice with your hand, then drain the cloudy water. Repeat this process 5 to 7 times. You are removing surface starch to prevent the rice from becoming a gummy paste. Stop when the water runs mostly clear. The grains should look opaque but not white.
Drain the rice thoroughly. Add fresh water to a rice cooker or heavy-bottomed pot. The standard ratio is 1 cup of rice to 1.1 to 1.2 cups of water, depending on the rice's age and humidity. Let the rice soak for 30 minutes before cooking if possible; this ensures even hydration. Cook using the standard "white rice" setting or simmer on low heat for 12 minutes, then let it rest off the heat for 10 minutes without lifting the lid.
Transfer the hot rice to a wide, non-metallic bowl (wood is traditional). Mix rice vinegar, sugar, and salt in a small saucepan until dissolved, then drizzle over the rice. Use a cutting motion with a rice paddle to mix the seasoning in without crushing the grains. Fan the rice while mixing to cool it down rapidly; this gives the rice its characteristic glossy shine and prevents it from becoming mushy.

Cover the seasoned rice with a damp cloth to prevent it from drying out. Use it within 4 hours for the best texture. Do not refrigerate sushi rice, as cold temperatures cause the starch to retrograde and the rice to harden. If you must prep ahead, reheat it gently in the microwave with a splash of water before using.
Buy sushi grade fish safely
The term "sushi grade" is a marketing label, not a federal standard. In the United States, the FDA does not recognize this as a distinct category of fish. Instead, safety depends entirely on how the fish was handled and frozen before it ever reached the counter.
To eat raw fish safely at home, you must ensure it has been frozen at extremely low temperatures to kill parasites. The FDA recommends freezing fish at -4°F (-20°C) or below for at least seven days. This process, known as flash-freezing, is the industry standard for eliminating parasites like anisakis.
When shopping, look for fish that has been explicitly labeled as "sashimi grade" or "for raw consumption." Reputable fishmongers and specialty sushi shops will know this requirement. If a vendor cannot confirm the freezing history, do not buy it.
Always check the smell and appearance. The fish should smell like the ocean, not fishy or ammonia-like. The flesh should be firm and translucent, not dull or mushy.
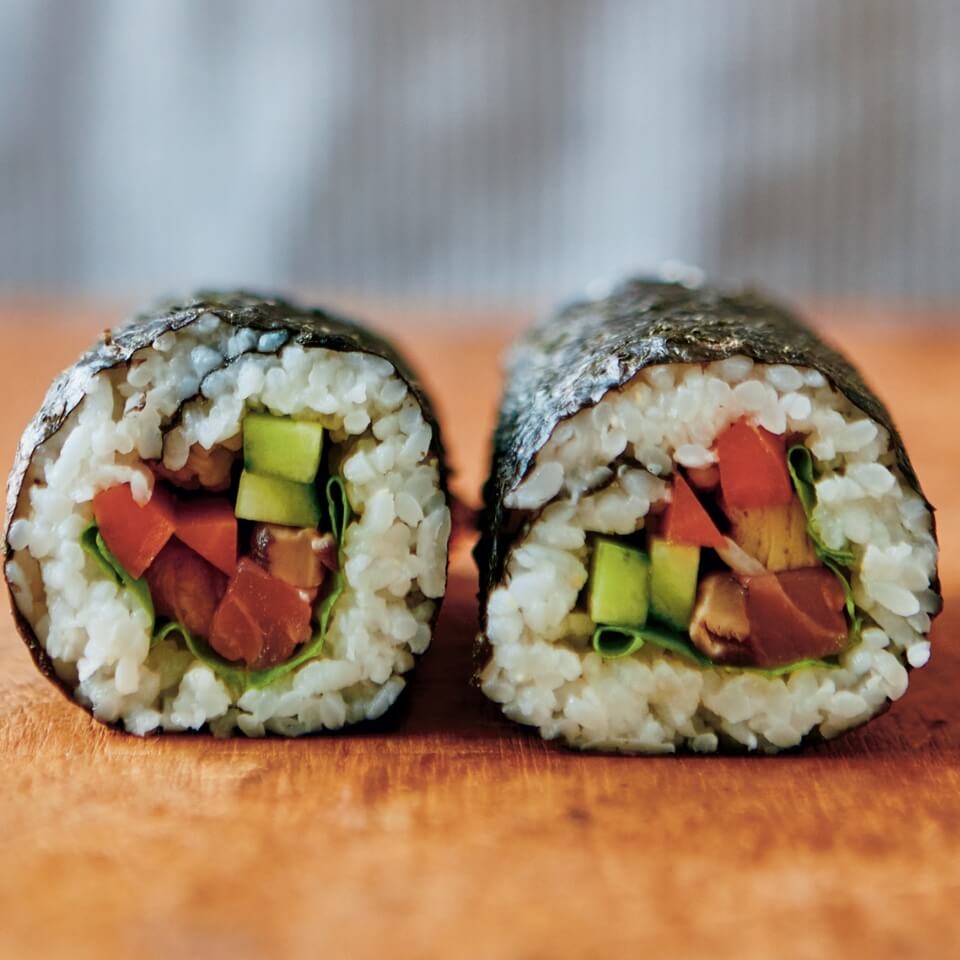
Roll your first maki
Rolling a basic maki roll is less about artistry and more about mechanics. The goal is a tight cylinder that holds its shape when sliced. You need the right tension: too loose, and the roll falls apart; too tight, and the nori cracks. Think of it like rolling a sleeping bag—firm, even pressure from one end to the other.
Lay the foundation
Place a sheet of nori shiny-side down on your bamboo mat (makisu). Spread a thin, even layer of sushi rice over the nori, leaving a one-inch strip of bare seaweed at the top edge. This gap is your seal. Press the rice gently; do not mash it. If the layer is too thick, the roll will be bulky and hard to cut. If it's too thin, the nori will dominate the flavor.
Add your fillings
Lay your fillings—cucumber, avocado, or crab stick—in a horizontal line across the center of the rice. Keep the pile narrow. A common mistake is overfilling the roll, which makes it impossible to close without bursting. Two or three thin strips are enough. You want every bite to have a balance of rice, seaweed, and filling, not just a mouthful of cucumber.
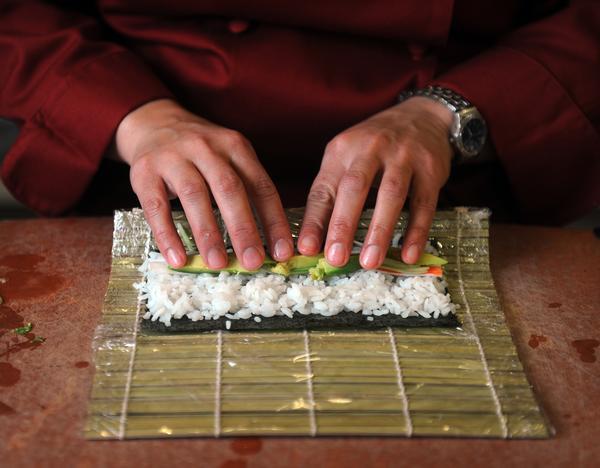
The first fold
Lift the edge of the bamboo mat closest to you. Use your fingers to hold the fillings in place while you roll the nori over them. Tuck the nori edge tightly against the fillings. This first fold is the most critical; if you leave a gap here, the entire roll will unravel. Apply gentle pressure with the mat to start shaping the cylinder.
Tighten and seal
Continue rolling forward, lifting the mat away as you go to avoid sticking. Once you reach the bare one-inch strip of nori, wet your finger with water and run it along the edge to create a glue. Complete the roll, pressing firmly along the seam to seal it. Use the mat to give the roll a final squeeze, shaping it into a neat square or circle.
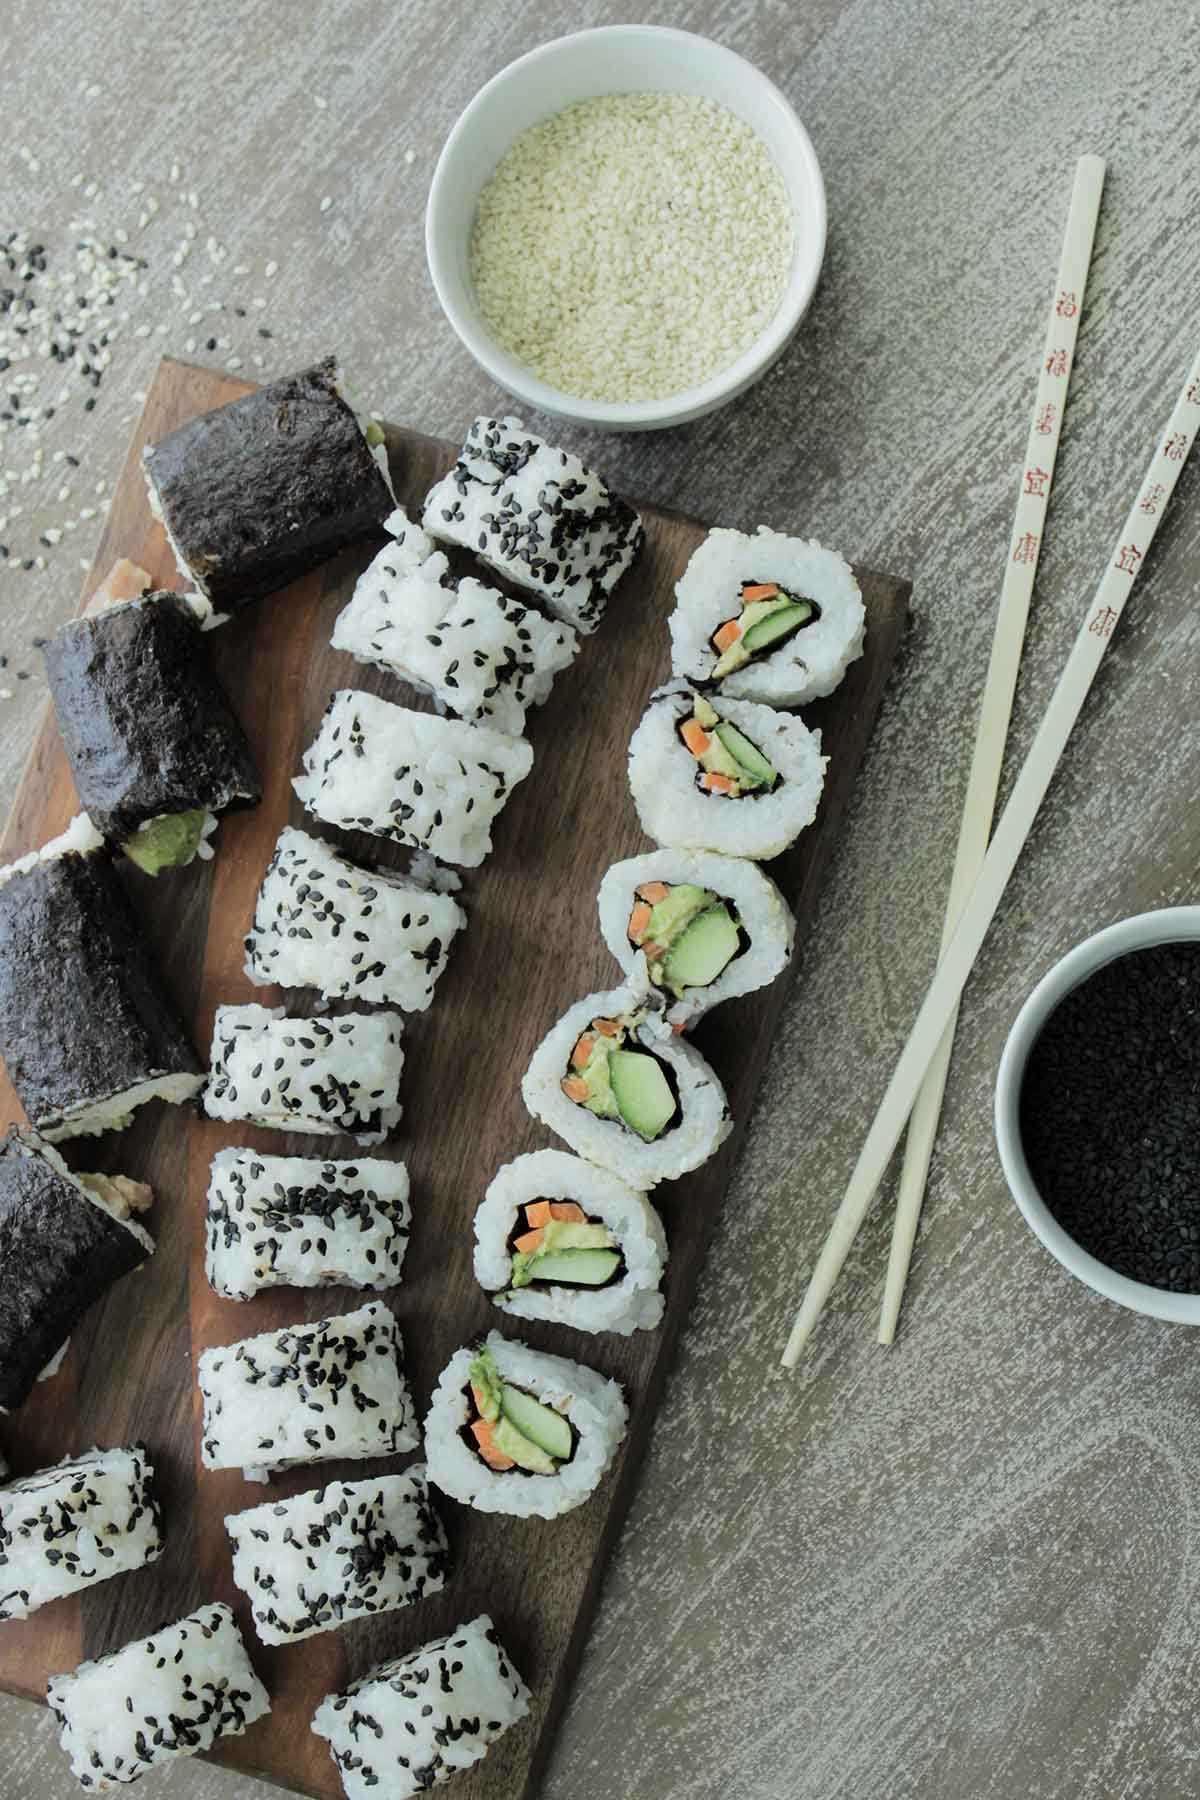
Slice with precision
Let the roll rest for a minute to set. Use a sharp, wet knife to cut it. Wetting the blade prevents the rice from sticking and tearing. Cut the roll in half first, then cut each half in half again to make four pieces. For six or eight pieces, cut the quarters in half. Wipe the knife clean between cuts for clean edges.
Fix common rolling mistakes
Even experienced chefs encounter hiccups when perfecting the sushi palate experience at home. The most frequent errors usually stem from moisture management and pressure application. By identifying these issues early, you can salvage a roll or adjust your technique before the next bite.
Rice too sticky or dry
Wet rice clumps together and smears the nori, while dry rice crumbles apart. The fix lies in the seasoning and handling. Use a sharp, non-stick spatula to fold the sushi vinegar into the rice gently; never mash it. If the rice feels too dry, mist it lightly with water before mixing. If it is too sticky, let it cool completely in the fan before rolling.
Loose rolls
A loose roll happens when the nori doesn't adhere to the rice or when the filling spills out. Ensure your bamboo mat is wrapped in plastic to prevent sticking. When rolling, apply firm, even pressure from the front toward the back. Start with a tight cylinder and maintain that tension as you finish the seal. A little extra pressure at the start prevents gaps.
Uneven cuts
Serrated knives tear the nori and crush the rice. Use a sharp, non-serrated chef's knife. Dip the blade in cold water before every single cut to prevent sticking. Cut the roll in half first, then align the halves side-by-side to cut them into equal pieces. This ensures uniform presentation and texture.

Test a small grain. It should be tender but hold its shape. Adjust with water or vinegar if needed.
Roll tightly from the front. Keep the filling centered and secure the nori edge with a damp brush.
Dip the knife, cut in half, then align and slice into even pieces for a professional finish.
Watch a master roll sushi
Seeing the hands move clarifies what words often miss. Watching a professional roll sushi reveals the rhythm of the technique: how the rice is lifted, not pressed, and how the nori is sealed with a precise touch. This visual reference reinforces the written steps, showing the balance between confidence and gentleness required for perfect rolls.
The video below demonstrates the full workflow, from spreading the rice to rolling the tight cylinder. Focus on the wrist movement during the final roll; it should feel like a gentle squeeze rather than a forceful crush. This visual guide serves as a practical companion to the tutorial, helping you catch nuances in hand placement and tension.
No comments yet. Be the first to share your thoughts!