

Start with the right sushi rice
Sushi is rice. The fish, vegetables, and seaweed are garnish; the rice is the foundation. Getting the sumeshi right is the single most important step in making sushi at home.
Place your short-grain Japanese rice in a large bowl. Cover with cold water and swirl gently with your hand. Drain the cloudy water. Repeat this process five to seven times until the water runs mostly clear. This removes excess surface starch that would otherwise make the rice gummy instead of distinct and sticky.
Soak the rinsed rice in its cooking water for 30 minutes before heating. This ensures even hydration. Cook it in a rice cooker or heavy-bottomed pot with a tight lid. Use a 1:1.1 rice-to-water ratio. Do not lift the lid while cooking. Let it steam for 10 minutes after the water is absorbed, then turn off the heat.
Transfer the hot rice to a wide, non-metallic bowl (traditionally a wooden hangiri). Mix a seasoning blend of rice vinegar, sugar, and salt until dissolved. Drizzle this mixture over the rice. Use a cutting motion with a rice paddle to fold the seasoning in without mashing the grains. This preserves the texture.
While folding the rice, fan it vigorously. This cools the rice to body temperature and gives the grains a glossy sheen. Cover the bowl with a damp cloth to prevent the rice from drying out or forming a skin. Use the rice within two hours for the best texture and flavor.
Assemble your sushi tools
You don't need a full professional kitchen to roll sushi at home. The only true requirement is a bamboo rolling mat, known as a makisu. Everything else is a bonus that makes the process smoother or the presentation sharper.
Start with the mat. Look for a tight-weave bamboo mat that holds its shape without snapping. For those starting fresh, a standard mat costs very little and lasts for years if rinsed after use.
Next, consider a sharp knife. A dull blade will crush the rice and tear the nori, ruining the roll's structure. You don't need an expensive Japanese steel knife, but a dedicated sushi or chef’s knife with a fine edge makes clean cuts significantly easier. Keep it sharp and dry.
Other tools like rice paddles, bowls for sharitsubune (rice cooling), and plastic wrap for the mat are helpful but not mandatory. You can use a silicone spatula and a large bowl for mixing rice. The goal is to keep your workspace organized, not cluttered with gadgets you'll only use once.
Recommended Gear


As an Amazon Associate, we may earn from qualifying purchases.
Roll your first maki sushi
Rolling maki by hand is less about strength and more about leverage. The goal is to create a tight, uniform cylinder without squeezing the fillings out the sides or leaving gaps where rice can escape. You will use the bamboo mat as a guide, not a vice.
Start with a clean workspace and a damp towel nearby to keep your hands from sticking to the sticky rice. Place a sheet of nori on the mat, shiny side down, with the long edge facing you. This orientation allows you to roll away from your body, which is the most natural motion for controlling pressure.
Wet your hands lightly with water mixed with a splash of rice vinegar. This prevents the rice from adhering to your skin while you work. Keep a small bowl of water next to you to re-wet your fingers frequently. Dry hands will tear the nori; wet hands will make the rice too soggy. Find the balance.
Take a handful of sushi rice (about the size of a tennis ball) and gently press it onto the nori. Use your fingertips to spread the rice in a thin, even layer, leaving a one-inch strip of bare nori at the top edge. This empty strip is crucial—it acts as the glue to seal the roll later. Do not mash the rice into the nori; you want distinct grains that hold together, not a paste.
Lay your fillings—cucumber, crab, avocado, or fish—in a single horizontal line across the rice, about one-third of the way up from the bottom edge. Keep the pile narrow. If you crowd the roll with too many ingredients, the nori will tear, or the roll will burst open when you try to tighten it. Less is more here.
Lift the edge of the bamboo mat closest to you with your thumbs. Tuck the nori edge over the fillings and onto the rice on the far side. Apply gentle pressure from the mat to secure the first fold. This initial tuck sets the shape. Ensure the fillings are enclosed tightly within the rice layer before you commit to the rest of the roll.
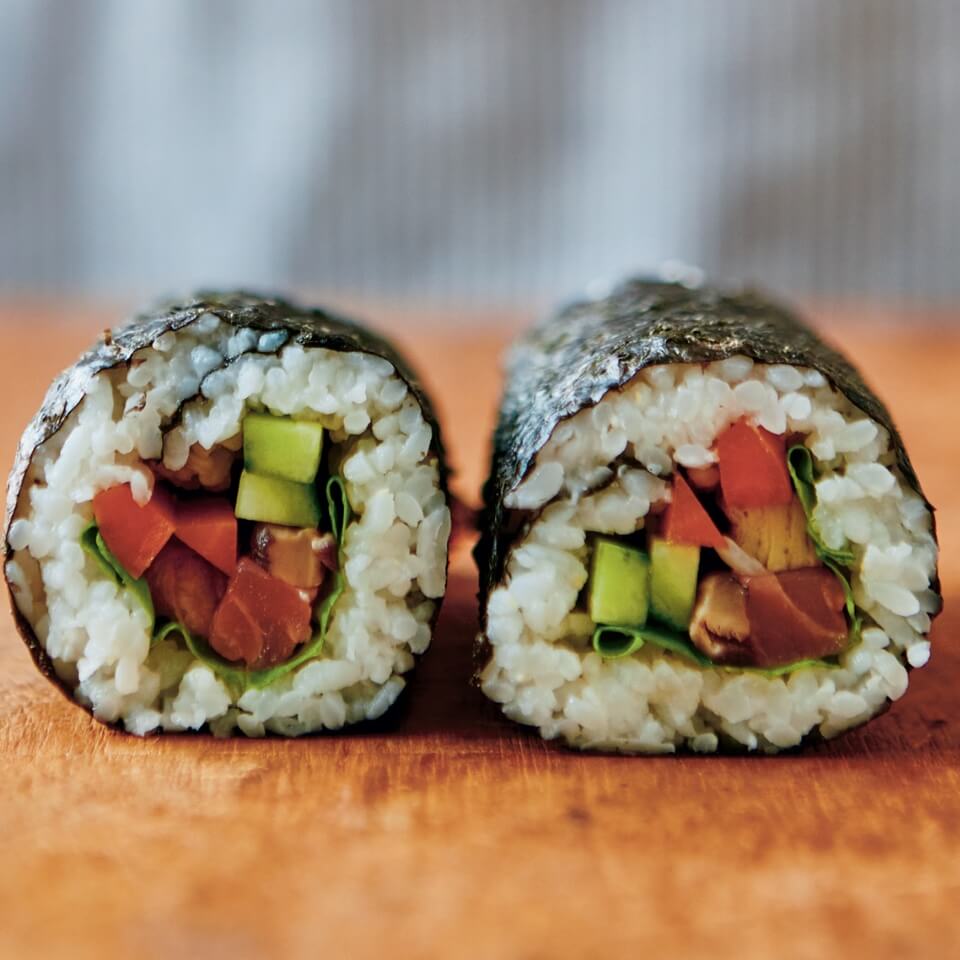
Lift the mat slightly away from you as you continue rolling forward. Use your fingers through the mat to squeeze the roll gently but firmly, shaping it into a tight cylinder. Roll the mat away completely, leaving the sushi on the mat. Give the roll one final squeeze to ensure it holds its shape. The seam should be at the bottom.
Once the roll is formed, let it rest for a minute. This allows the nori to absorb a tiny amount of moisture from the rice, helping it stay crisp and hold the seal. If you cut immediately, the roll may shift. A brief pause ensures clean slices.
To cut, use a very sharp knife. Wet the blade with water before each cut to prevent the rice from sticking. Cut the roll in half first, then align the halves side-by-side to cut into quarters. This alignment trick ensures all eight pieces are identical in size. Wipe the knife clean between cuts for the neatest presentation.
Slice and plate with care
A dull knife or dry blade will crush the roll, turning a clean cut into a mushy mess. The secret is a sharp yanagiba or chef’s knife dipped in a small bowl of water mixed with a splash of rice vinegar. This wet blade prevents the sticky nori and rice from clinging to the steel, allowing each slice to fall away cleanly.
Place your sushi roll on a cutting board. Using a gentle sawing motion rather than pressing down, slice through the roll in one continuous motion. For standard maki, eight pieces are the norm, but you can adjust based on the roll’s size and your presentation preference. Wipe the blade with a damp cloth between cuts to maintain that clean edge.
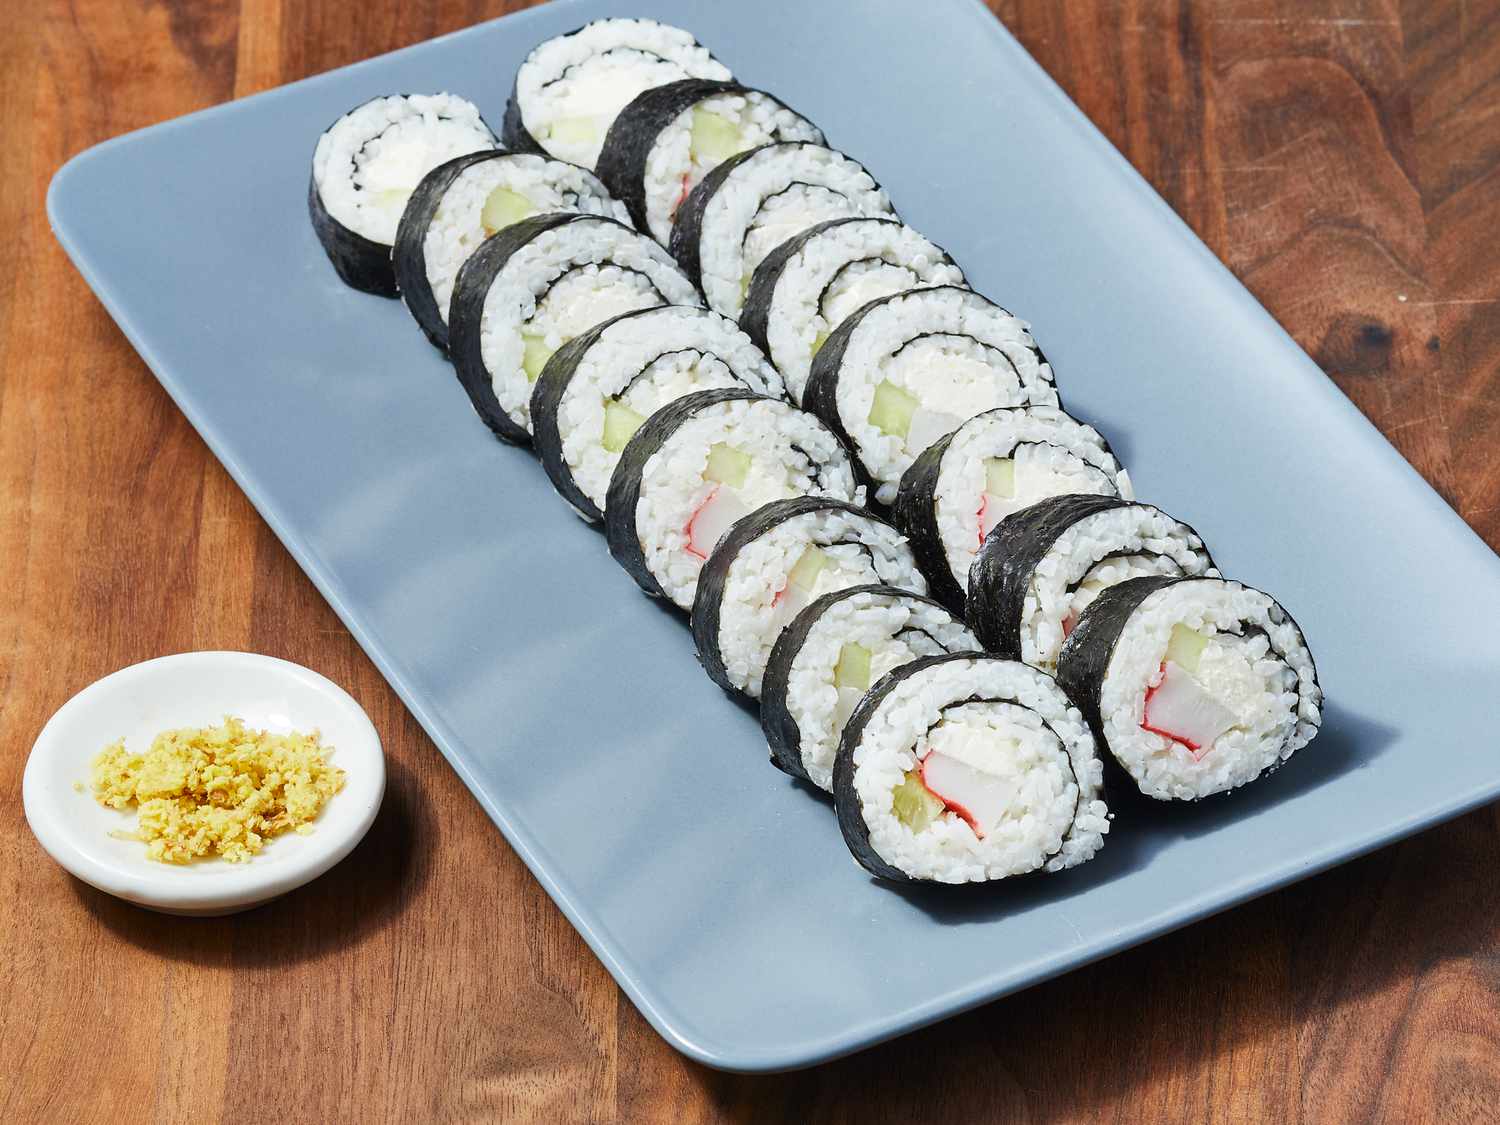
Arrange the pieces on a plate with the seam side down so they hold their shape. For a simple, elegant look, place the slices in a single row or a slight fan. Garnish with a small mound of pickled ginger and a dollop of wasabi on the side. Serve immediately while the rice is still warm and the nori retains its crunch.
Common rolling mistakes to avoid
Even experienced home cooks hit snags when rolling sushi for the first time. The difference between a messy kitchen and a perfect maki roll usually comes down to three specific errors: sticky rice, loose fills, and overstuffing. Fix these, and your rolls will hold their shape.
Rice sticking to the mat
Nori is porous and absorbs moisture quickly, but it’s the sticky, warm rice that causes the real damage. If the rice clings to your bamboo mat, it tears the nori when you try to unroll it. Keep a small bowl of water mixed with a splash of rice vinegar nearby. Dip your fingers lightly before handling the rice or adjusting the roll. This prevents the grains from adhering to your skin and the mat.
Rolls falling apart
A roll that unravels before slicing is usually the result of insufficient pressure or damp ingredients. When you roll, use your thumbs to hold the fill in place while your fingers apply even, firm pressure along the length of the cylinder. Avoid wet vegetables like pickled radish or excess soy sauce on your hands. If the nori feels too dry, a tiny mist of water along the edge helps it seal, but too much moisture makes the whole sheet soggy.
Overfilling the roll
It’s tempting to pile on as much avocado and crab stick as possible, but space is limited. If you overfill the nori, the roll becomes too thick to close properly, and the filling will spill out during slicing. Leave about an inch of clear nori at the far edge. This empty border acts as a sealant when you finish the roll, keeping the inside contents secure.
Pre-roll checklist
Before you start rolling, run through this quick list to prevent the most common pitfalls:
- Is the sushi rice cooled to room temperature? Hot rice steams the nori.
- Is your knife wet? A damp blade prevents crushing.
- Is the nori shiny side up? The dull side holds the rice better.
- Are your hands prepped with vinegar water? This stops stickiness.
How to Eat Sushi Properly
Eating sushi is about respecting the craft and enjoying the balance of flavors. Follow these simple steps to eat like a local.
Dip the Fish Side Down
Use your chopsticks or fingers to pick up the piece. Dip the fish side lightly into the soy sauce. Avoid soaking the rice, as it will fall apart and absorb too much salt, masking the delicate flavor of the fish. If you are eating nigiri, you can gently turn it sideways to dip only the fish.
Ginger is a Palate Cleanser
Eat a piece of pickled ginger between different types of sushi, not on top of the fish. Ginger resets your taste buds, allowing you to appreciate the distinct flavor of each roll or slice. It is a tool for clarity, not a condiment to mix into your soy sauce.
Eat in One Bite
Sushi chefs design each piece to be consumed in a single bite. This ensures you experience the perfect ratio of rice, fish, and wasabi simultaneously. If a piece is too large, it is acceptable to cut it in half, but try to keep the structure intact.
No comments yet. Be the first to share your thoughts!