
Gather your sushi tools and ingredients
Before you start learning how to roll sushi, set up your station. You don’t need a professional kitchen, but having the right tools makes the process much smoother. The core essentials are a bamboo rolling mat (makisu), a sharp knife, and a bowl of water to keep your hands from sticking to the rice.
-
Bamboo rolling mat (makisu)
-
Sharp chef’s knife or sushi knife
-
Small bowl of water with a pinch of salt
-
Rice cooker or heavy-bottomed pot
-
Large mixing bowl for sushi vinegar
The foundation of good sushi is the rice. Use short-grain Japanese rice, which is naturally sticky and clumps well. Rinse the rice until the water runs clear to remove excess starch, then cook it according to package instructions. While the rice cooks, prepare the sushi vinegar (su) by heating rice vinegar, sugar, and salt until dissolved. Mix this into the hot rice and let it cool to room temperature.
For fillings, quality matters. If you’re using raw fish, ensure it is labeled "sushi grade" or "sashimi grade," meaning it has been frozen to safe temperatures to kill parasites. Common choices include tuna, salmon, or yellowtail. For vegetarian options, avocado, cucumber, and pickled daikon radish work beautifully. Keep your fillings cut into long, thin strips so they fit neatly inside the roll.
Prepare the sushi rice correctly
The foundation of any great roll is the rice. Without properly seasoned and cooled rice, even the best fillings and rolling technique will fall flat. Getting this step right ensures your sushi holds together and delivers the authentic flavor profile.
Cook the rice
Start with short-grain Japanese rice, which has the necessary stickiness. Rinse it thoroughly under cold water until the water runs clear to remove excess starch. This prevents the rice from becoming gummy. Cook it using the standard water-to-rice ratio for your specific cooker or pot. Avoid overcooking; the grains should remain distinct yet tender.
Season while hot
Once the rice is cooked, transfer it immediately to a wide, shallow wooden tub (hangiri) or a large non-reactive bowl. This allows the rice to cool evenly. Pour the sushi vinegar seasoning over the hot rice. The heat helps the grains absorb the sweet and sour mixture. Use a cutting motion with a rice paddle to mix, folding the rice gently rather than stirring, which can mash the grains into a paste.
Cool to room temperature
Spread the seasoned rice in the tub to release steam. Continue to fold and fan until the rice reaches body temperature. It should feel slightly warm to the touch but not hot. Cover the rice with a damp cloth to prevent the surface from drying out or forming a crust. Use the rice within a few hours for the best texture. If it sits too long, it will harden and become difficult to roll.
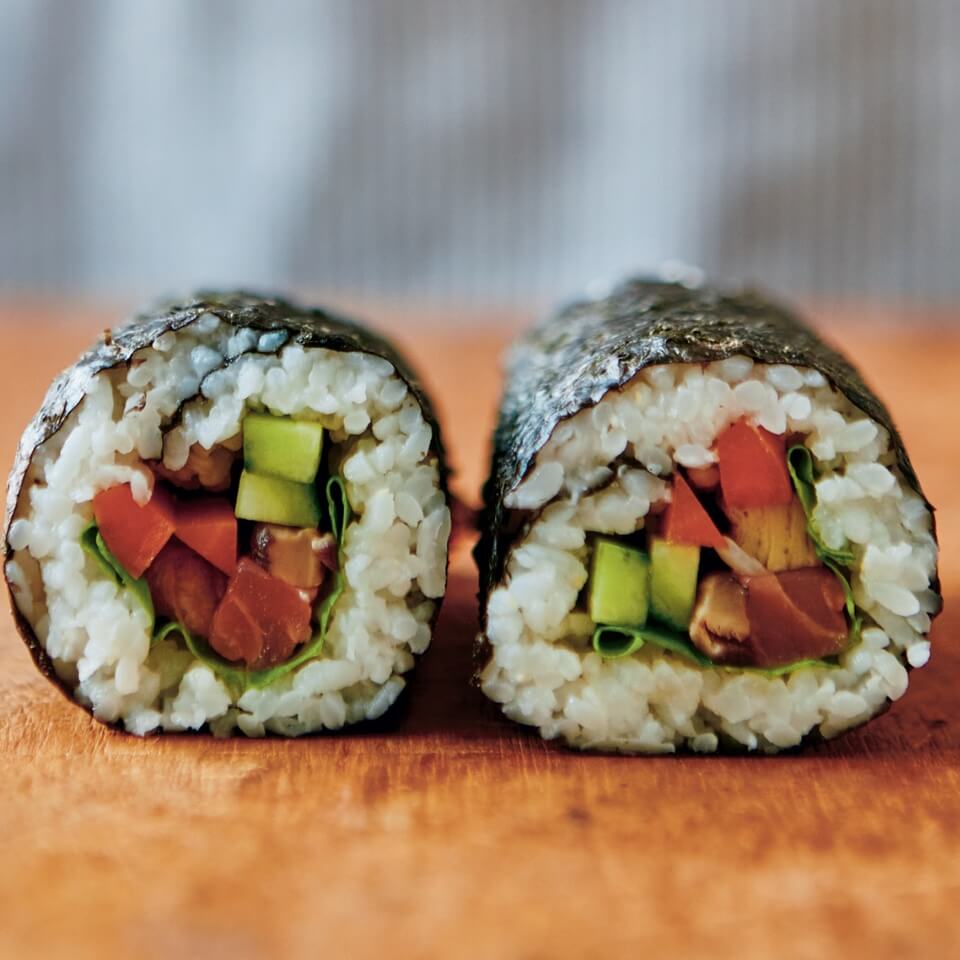
Roll basic maki sushi with a mat
Rolling maki sushi requires a bamboo mat to achieve the tight, cylindrical shape that holds its structure when sliced. Without the mat, the nori tends to unravel, and the rice becomes compressed unevenly. Think of the mat as a mold; it provides the external pressure needed to bind the loose ingredients into a single, cohesive unit.
Before you begin, prepare your workspace. Wrap the bamboo mat tightly in plastic wrap. This prevents sticky rice from getting trapped in the slats and makes cleanup instant. Keep a bowl of water with a few drops of vinegar nearby to wet your fingers. This stops the rice from adhering to your skin as you spread it.
Place a sheet of nori shiny-side down on the mat. The rougher side faces up, which helps the rice adhere better. Spread a thin, even layer of sushi rice over the nori, leaving a one-inch strip of bare nori at the top edge. This gap is critical; it acts as a sealant when you finish the roll. If you cover the entire sheet, the end will not stick, and your sushi will fall apart.
Add your fillings—such as cucumber, avocado, or tuna—in a horizontal line across the center of the rice. Do not overfill. A heavy load makes rolling difficult and increases the risk of the nori tearing. Keep the pile low and compact.
Lift the edge of the mat closest to you with your thumbs, while your fingers hold the fillings in place. Roll the nori over the fillings, tucking it in tightly. Apply gentle, even pressure to form a cylinder. Once the roll is complete, use the mat to squeeze the sushi into a firm shape. Press along the sides and top to ensure the rice holds together. Let it rest for a minute before slicing with a sharp, wet knife.
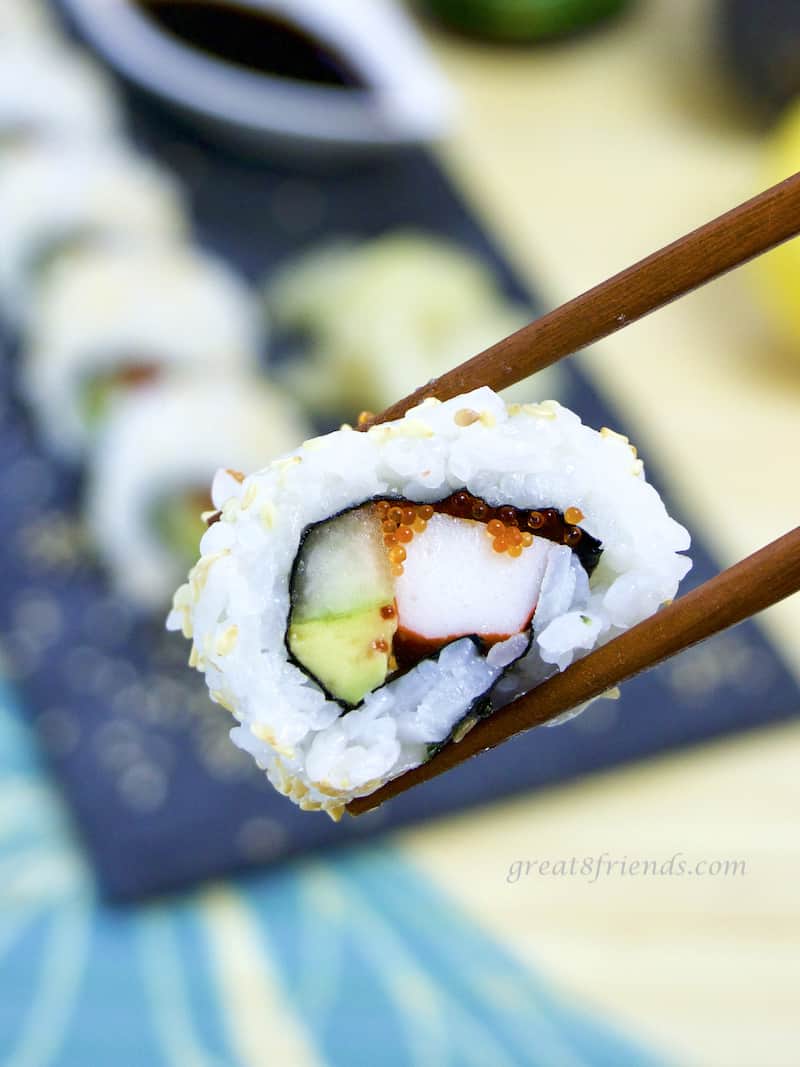
Make uramaki (inside-out rolls)
Uramaki, or inside-out rolls, flip the traditional structure by placing the rice on the exterior. This style is often coated with sesame seeds, tobiko (flying fish roe), or thinly sliced avocado. While slightly more advanced than standard maki, the technique relies on the same bamboo mat (makisu) and controlled pressure.
Wrap your bamboo mat tightly in plastic wrap. This prevents the rice from sticking to the wood and makes cleanup significantly easier. Ensure the wrap is smooth to avoid ridges in your final roll.
Place a sheet of nori on the mat with the shiny side down. Spread a thin, even layer of sushi rice over the entire surface, leaving a 1-inch border at the top. Press gently; the rice should stick to the nori but not tear it.
Carefully lift the bamboo mat and flip the entire assembly over so the rice rests on your work surface and the nori faces up. Wet your hands again to prevent sticking as you handle the exposed rice.
Place your fillings (such as crab, avocado, or cucumber) in a line across the center of the nori. Lift the edge of the mat closest to you and roll it over the fillings, tucking it tight. Continue rolling forward, applying even pressure to shape the cylinder.
Sprinkle toasted sesame seeds or tobiko over the exposed rice. Use a sharp, wet knife to cut the roll into six or eight pieces. Wipe the blade between cuts for clean edges.
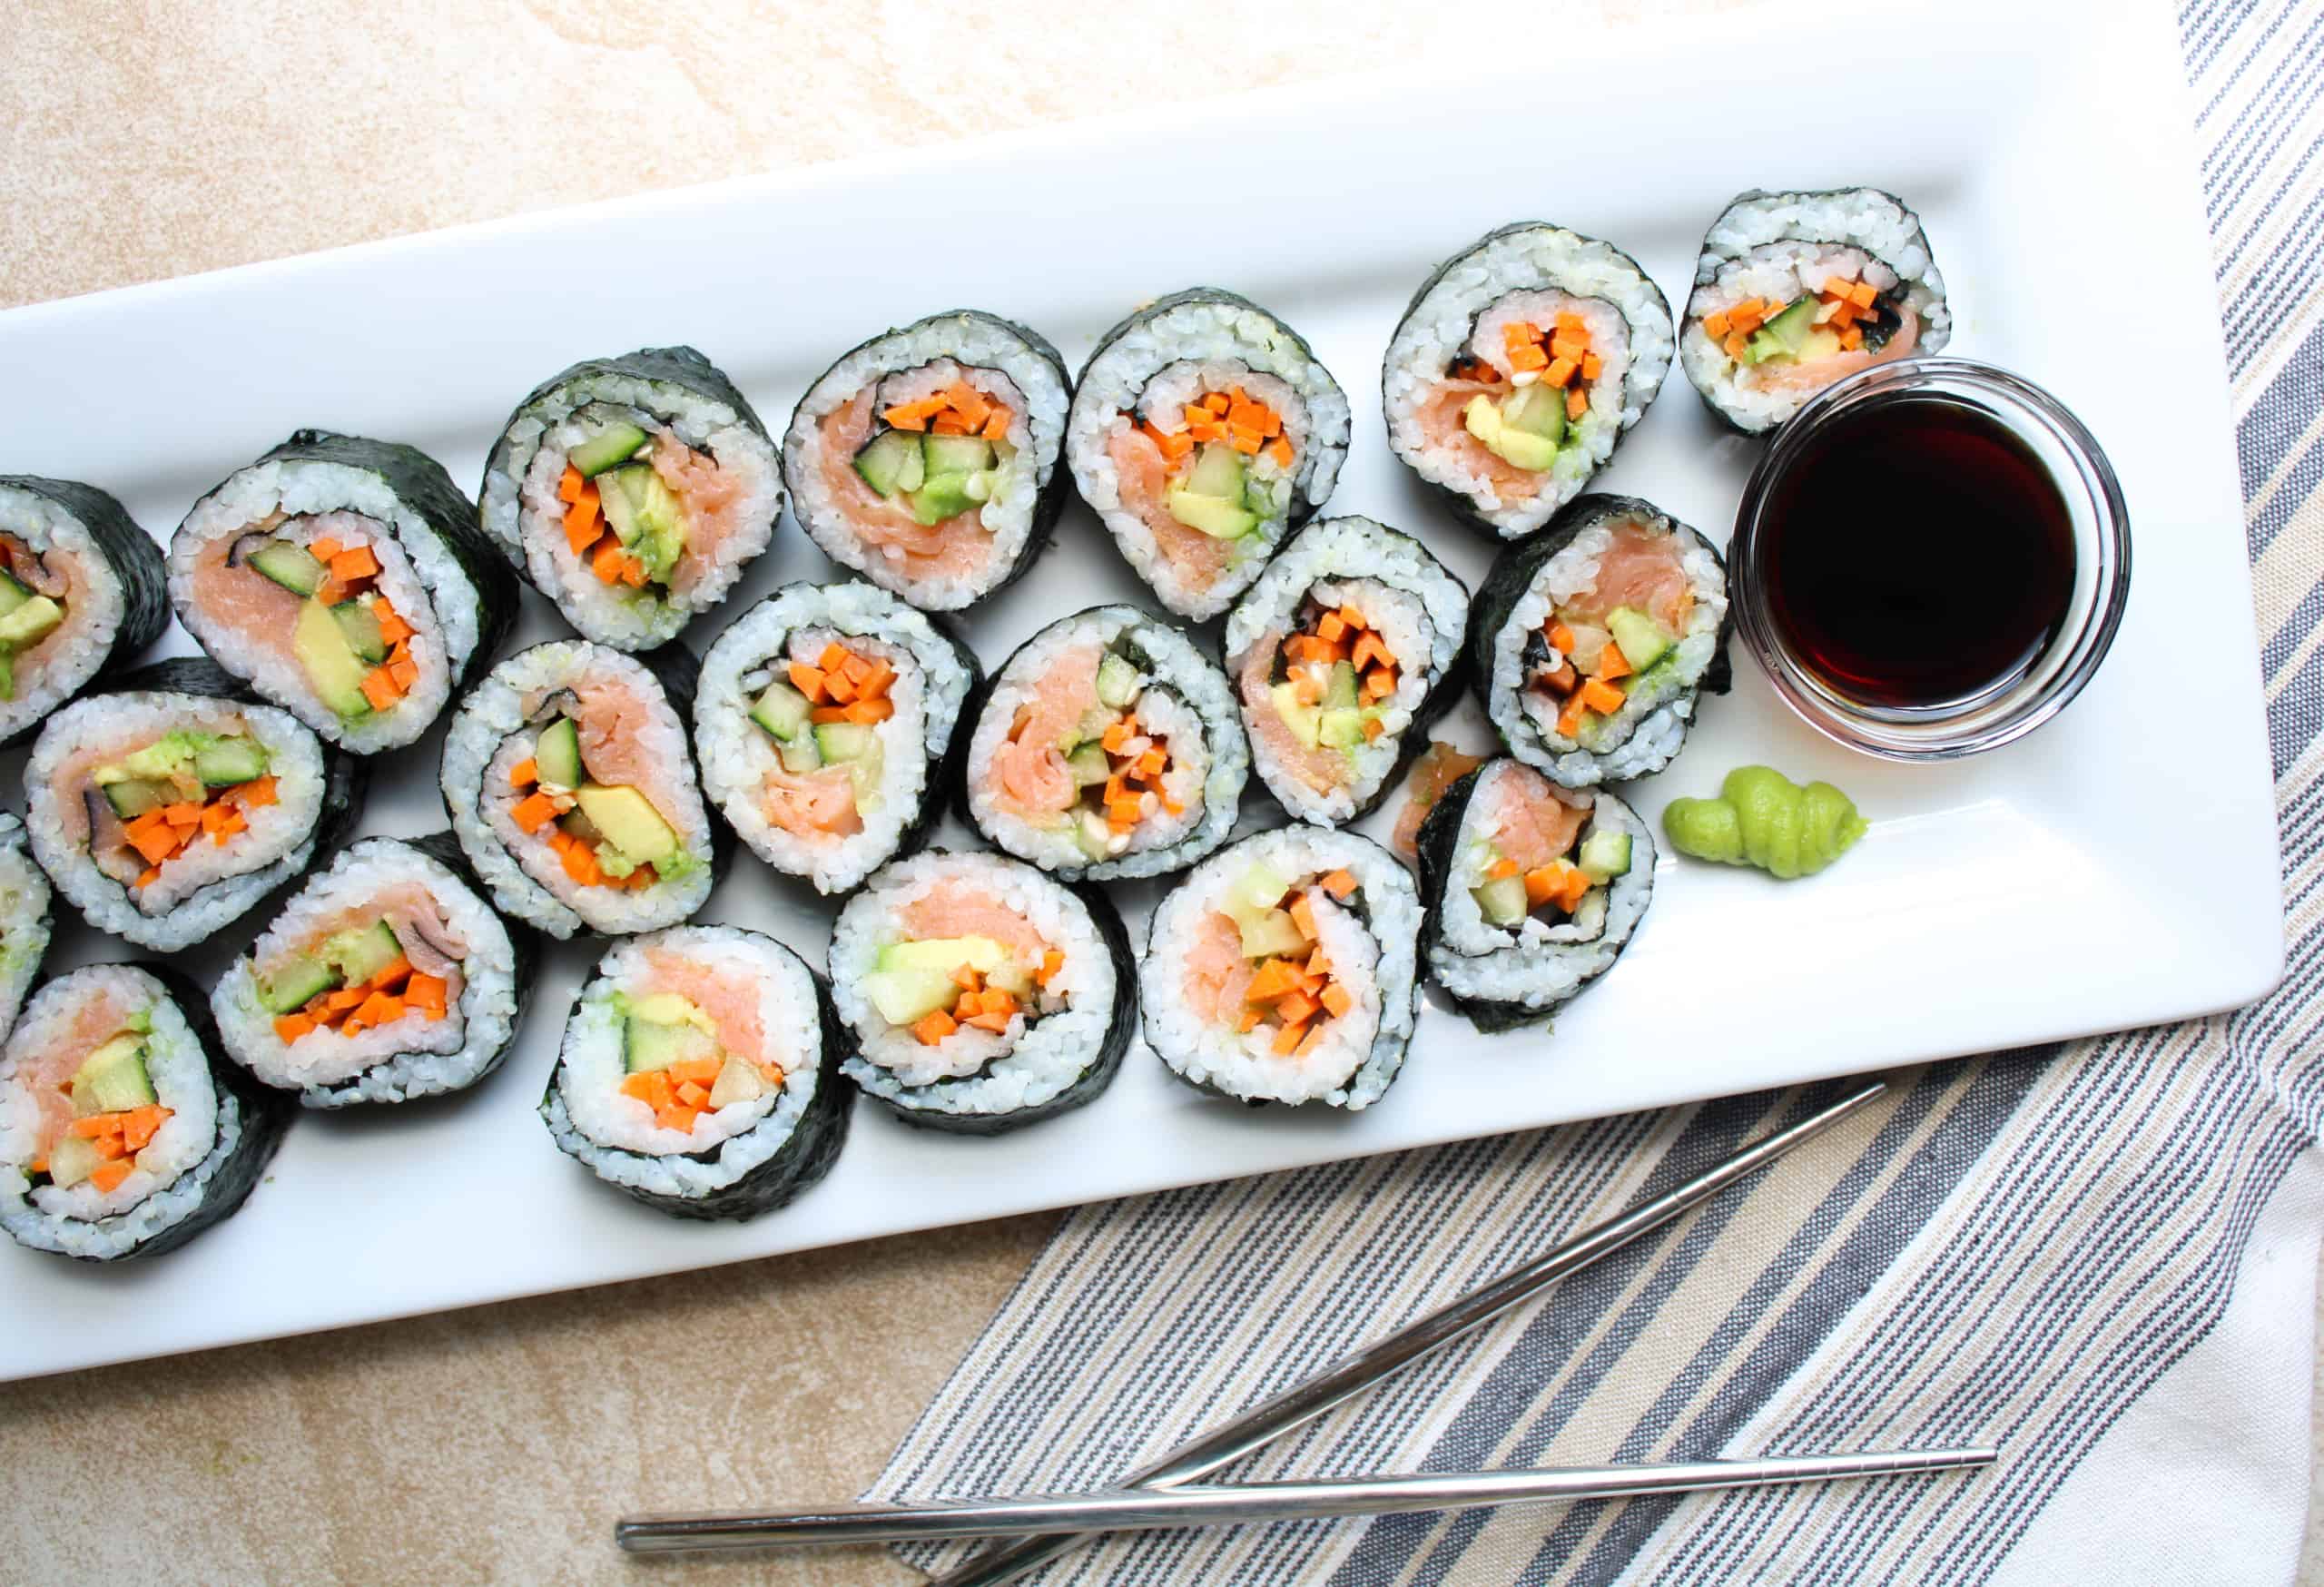
Slice and serve your sushi rolls
The cutting phase is where patience pays off. A clean slice reveals the perfect spiral; a jagged one crushes the rice and ruins the presentation. Your knife needs to be sharper than you think. Wet the blade before every single cut to prevent the sticky rice from clinging. If the rice sticks, your slice will drag and deform the roll. Keep a bowl of water nearby and wipe the blade dry with a clean towel between cuts.
Hold the roll steady with your non-dominant hand, using your fingers to guide the knife gently. Use a smooth, single-motion sawing cut rather than pressing down hard. Let the sharp edge do the work. For standard maki rolls, cut the cylinder in half first, then line up the halves to cut each half into three or four pieces. This ensures uniform sizes for consistent eating.
Arrange the pieces on a plate with the cut side facing up to showcase the filling. Serve immediately with soy sauce, wasabi, and pickled ginger. The rice begins to dry out quickly, so timing is part of the presentation. If you are making uramaki (inside-out rolls), handle them gently as the outer rice layer is more fragile and can tear if pressed too hard.
Watch a sushi rolling demo
Visualizing the motion helps lock in the technique before you touch the rice. Watching a full roll from start to finish clarifies the rhythm of spreading, filling, and tucking that text can only describe.
This video breaks down the basic hand movements for a standard maki roll, showing exactly how much pressure to apply with the bamboo mat.
Common sushi rolling mistakes to avoid
Even with the right tools, a few habits can turn a crisp roll into a soggy mess. The most frequent errors involve rice consistency, filling placement, and rolling pressure. Fixing these small details makes the difference between a loose cylinder and a clean, sliceable roll.
Soggy or tough nori
Nori absorbs moisture from the rice and fillings quickly. If you let the assembled roll sit before eating, the seaweed loses its crispness and becomes chewy. To keep the texture sharp, roll only what you plan to eat immediately. If you need to prep ahead, store the nori separately from the rice and assemble just before serving.
Loose rolls that fall apart
A loose roll usually means the rice wasn’t pressed firmly enough or the nori sheet was placed upside down. When you start rolling, use your fingers to gently but firmly compact the rice against the bamboo mat. This creates a tight core. If the roll feels wobbly, stop, reposition the mat, and apply even pressure along the entire length before continuing.
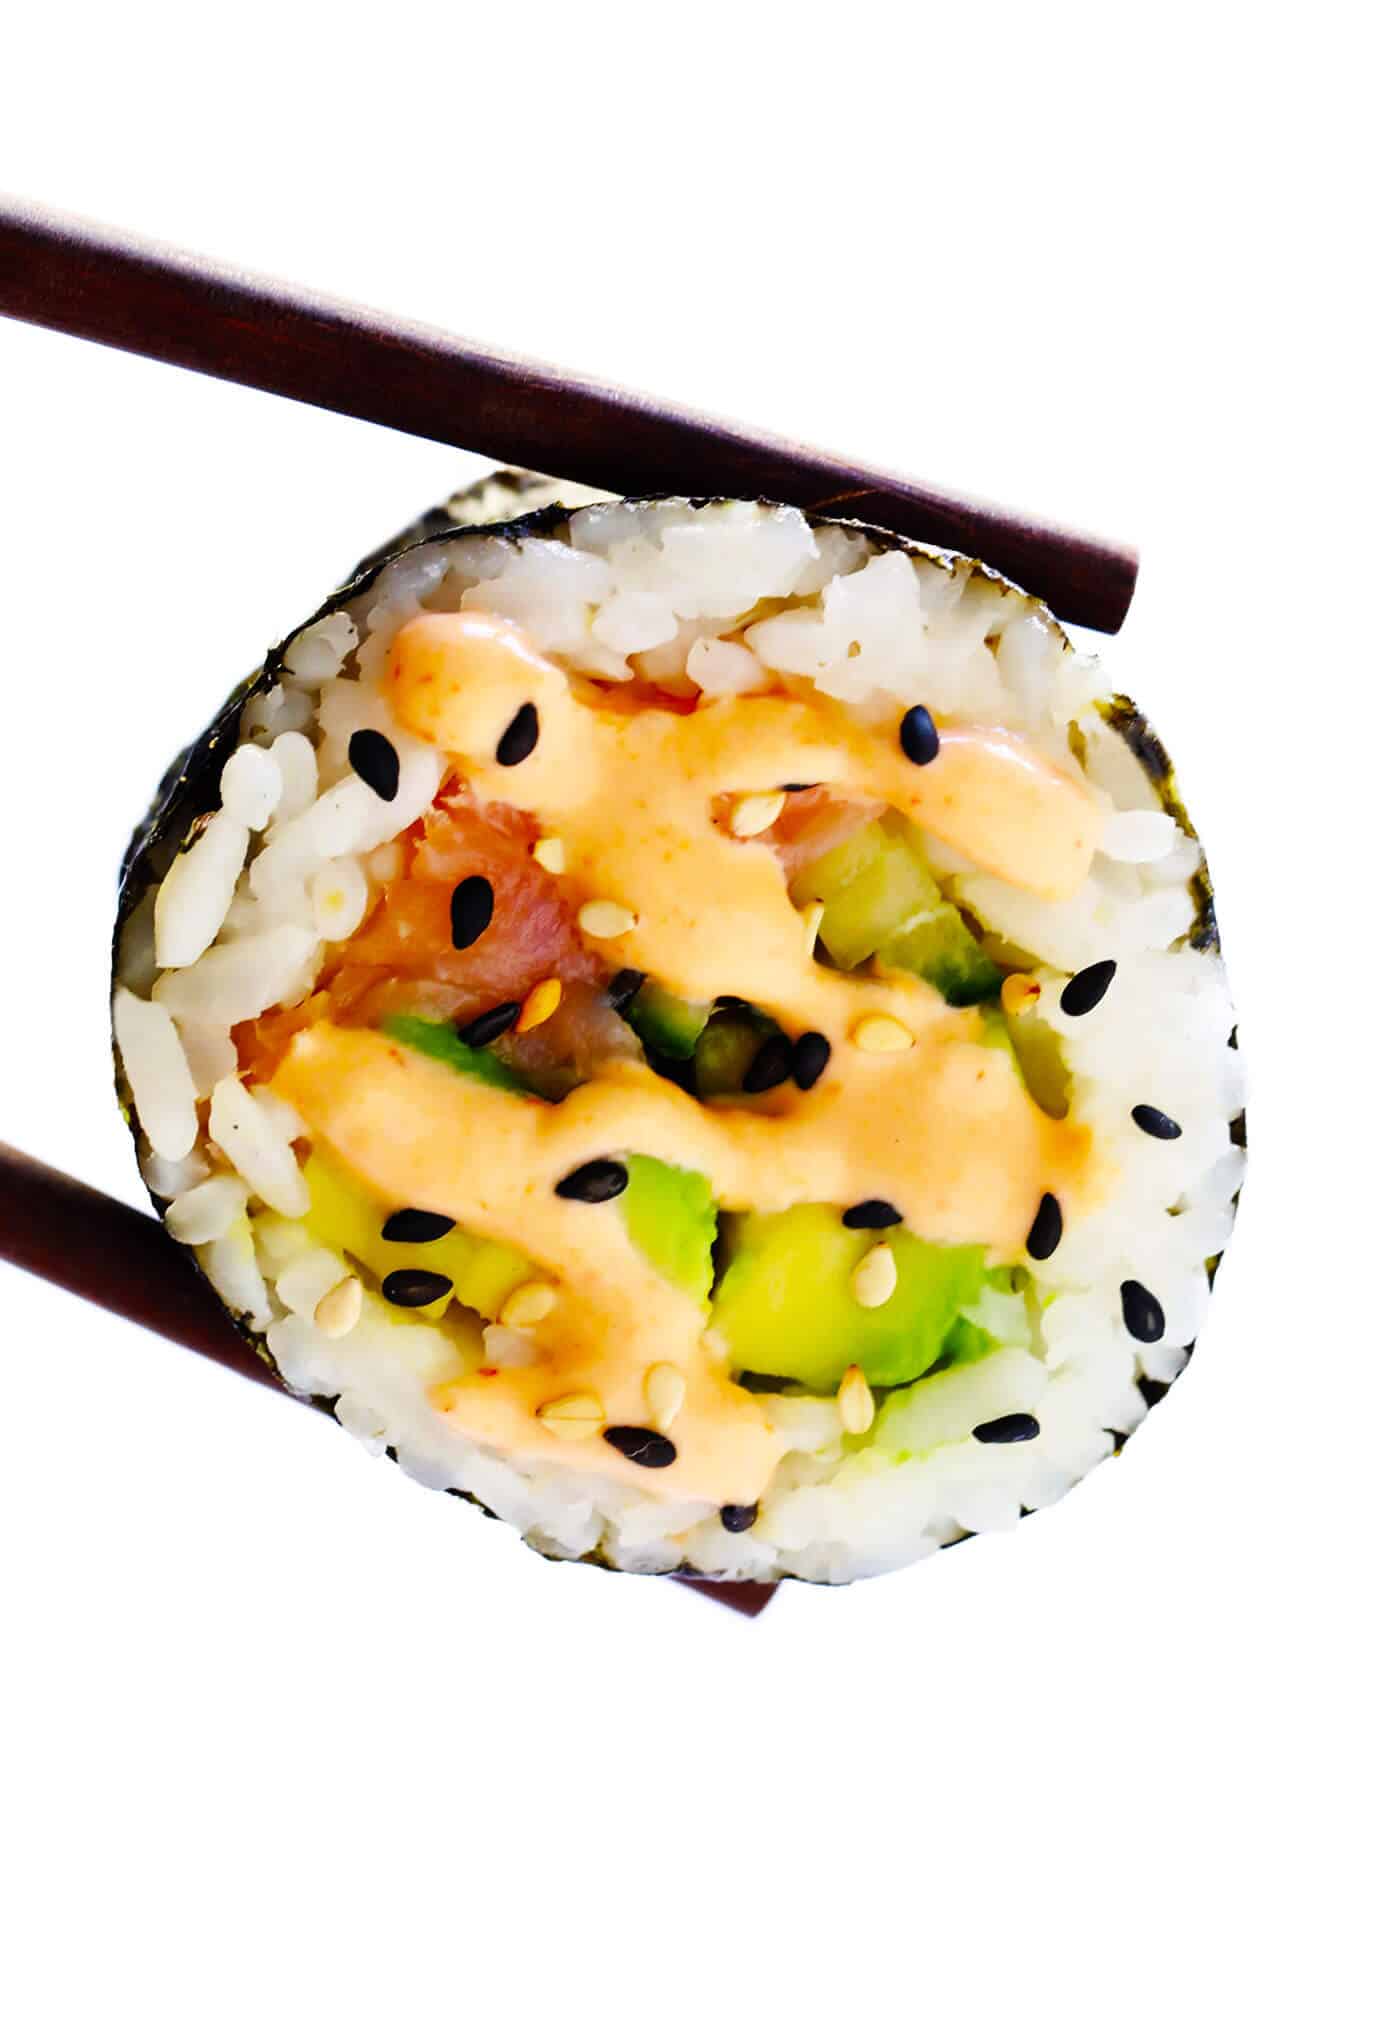
Overfilling the roll
It is tempting to pack the center with salmon, avocado, and cucumber, but too much filling prevents the nori from sealing. A thick center creates a weak point where the roll will burst open during slicing. Stick to a thin, horizontal line of ingredients. This ensures the nori can wrap around the contents without resistance, resulting in a tight, uniform cylinder.
No comments yet. Be the first to share your thoughts!