
Prep your sushi station
A chaotic kitchen leads to sticky rice and uneven rolls. To taste the nuances of fresh fish and seasoned rice, you need a clean, organized environment where every tool is within arm's reach. Start by clearing a large, flat surface. You will need space to spread the rice and roll the nori without crowding. Keep a bowl of water nearby for wetting your hands, which prevents the rice from sticking to your skin. Having a damp towel close by is also essential for wiping your hands between rolls to maintain hygiene and control.
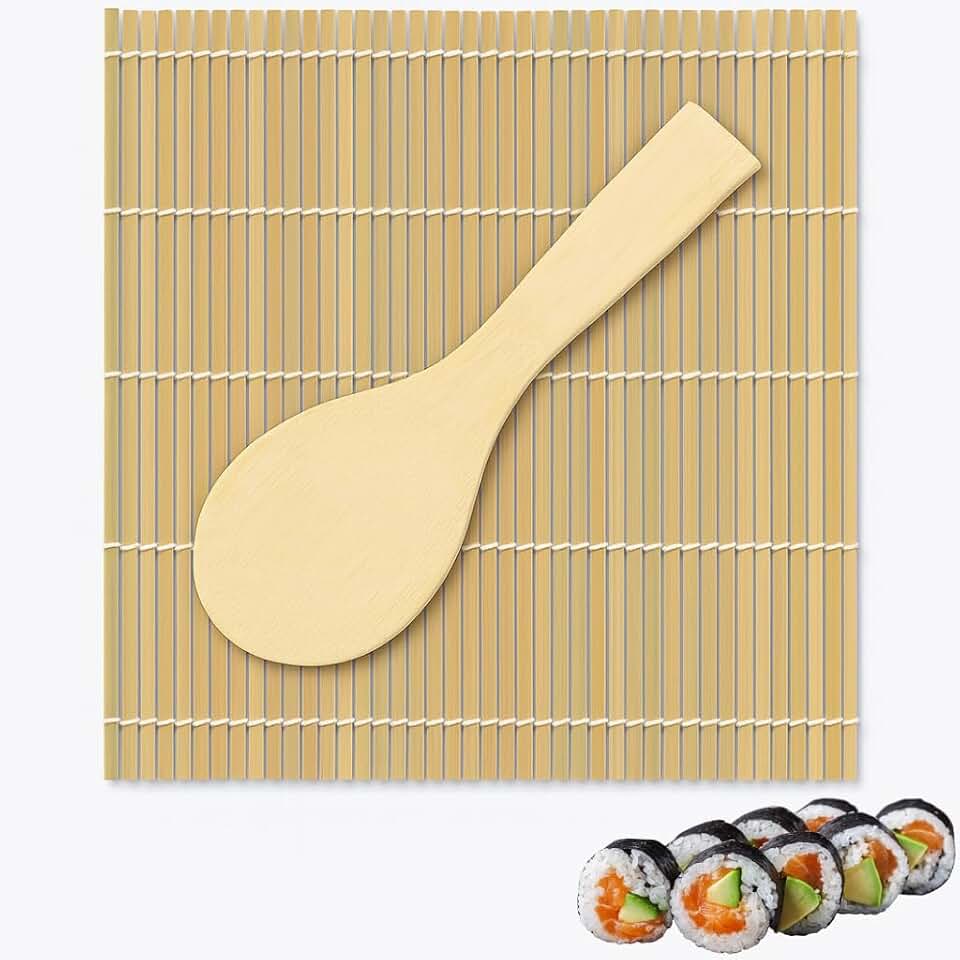
The right tools make the difference between a messy attempt and a professional result. You need a sharp knife to slice through the roll without crushing the ingredients, a bamboo mat to shape the cylinder, and a sharp rice paddle to handle the sticky grain without mashing it. Below are the essential items you will need to set up your sushi station correctly.


As an Amazon Associate, we may earn from qualifying purchases.
Once your tools are laid out, take a moment to ensure your ingredients are prepped and ready. The rice should be cooked and cooled to room temperature, the nori sheets stacked, and the fillings sliced into uniform strips. This "mise en place" approach allows you to focus entirely on the rolling technique.
Cook and Season the Rice
Sushi rice is the foundation of your sushi palate. It is the canvas that holds the fish, vegetables, and sauces together. If the rice is poorly prepared, the delicate balance of flavors collapses. Properly seasoned rice provides the necessary acidity and slight sweetness to cut through the richness of fatty tuna or the earthiness of roasted seaweed.
Rinse Until Clear
Start with high-quality short-grain Japanese rice. Place the rice in a large bowl and cover it with cold water. Gently swirl the grains with your hand, then drain the cloudy water immediately. Repeat this process 4 to 6 times until the water runs almost clear. This step removes excess surface starch that would otherwise make the rice gummy. Proper rinsing ensures each grain remains distinct yet cohesive.
Soak and Cook
After the final rinse, let the rice soak in the fresh water for 30 minutes. This allows the grains to absorb moisture evenly, leading to a uniform texture when cooked. Use a rice cooker with a "sushi" setting if available, or a heavy-bottomed pot. The standard ratio is usually one cup of rice to one and one-quarter cups of water. Bring to a boil, then reduce heat to low and simmer for 12 to 15 minutes. Remove from heat and let it rest, covered, for another 10 minutes to steam.
Season with Vinegar
While the rice rests, prepare the su (seasoning vinegar). Mix rice vinegar, sugar, and salt in a small saucepan and warm gently until dissolved. Do not boil. Once the rice is cooked, transfer it to a wide, non-metallic bowl (wooden hangiri is traditional). Drizzle the vinegar mixture over the hot rice. Use a cutting motion with a wooden spatula to mix, rather than stirring, to avoid crushing the grains. Fan the rice while mixing to cool it quickly to body temperature. This creates the glossy, slightly sticky texture essential for rolling.
Cool and Cover
Spread the seasoned rice on a clean surface or leave it in the bowl to cool completely. Cover it with a damp cloth to prevent the surface from drying out and forming a hard crust. The rice should be warm to the touch, not hot, when you begin rolling. This temperature range allows the nori to adhere properly without becoming soggy or brittle.
Roll your first maki
Building a sushi palate starts with the mechanics of the roll. A well-formed maki isn't just about ingredients; it's about tension. The rice must hold together without being compressed into a brick, and the nori must snap cleanly when bitten. This section walks you through the physical act of rolling, focusing on the pressure and alignment that define a professional-quality sushi roll.
Place a sheet of nori shiny-side down on your bamboo mat. Spread a thin, even layer of sushi rice over the surface, leaving a one-inch strip of bare nori at the top edge. This gap is the seal. Press the rice gently with your fingertips to create a uniform blanket; do not mash the grains. The rice should cover about three-quarters of the sheet, leaving room for the fillings and the closing fold.
Lay your fillings—such as cucumber strips, avocado slices, or tuna—across the center of the rice in a single horizontal line. Keep the pile low. If you stack too high, the roll will burst open or become difficult to slice. A balanced maki roll has a harmonious ratio of rice to filling, ensuring every bite has the right texture contrast.
Lift the edge of the bamboo mat closest to you. Using your thumbs to hold the fillings in place, fold the nori over the fillings so the bare nori strip meets the rice. Press lightly to seal the seam. At this stage, the roll is just a cylinder of ingredients; the structure is fragile, so handle it with care. Keep the mat wrapped around the roll to maintain its cylindrical shape.

With the mat still wrapped around the roll, use your fingers to gently squeeze and shape the cylinder. Focus on the corners to make them slightly squared off, which is characteristic of traditional maki. Apply even pressure from all sides to compact the rice without crushing the fillings. This step ensures the roll holds its shape when sliced and provides the satisfying "snap" of fresh nori.
Wet your knife blade with water or vinegar to prevent the rice from sticking. Use a long, sharp sashimi knife and employ a single, smooth sawing motion rather than a chop. Cut the roll in half, then line up the halves and cut each into three or four pieces. Wipe the blade clean between every cut to keep the presentation neat and the flavors pure.
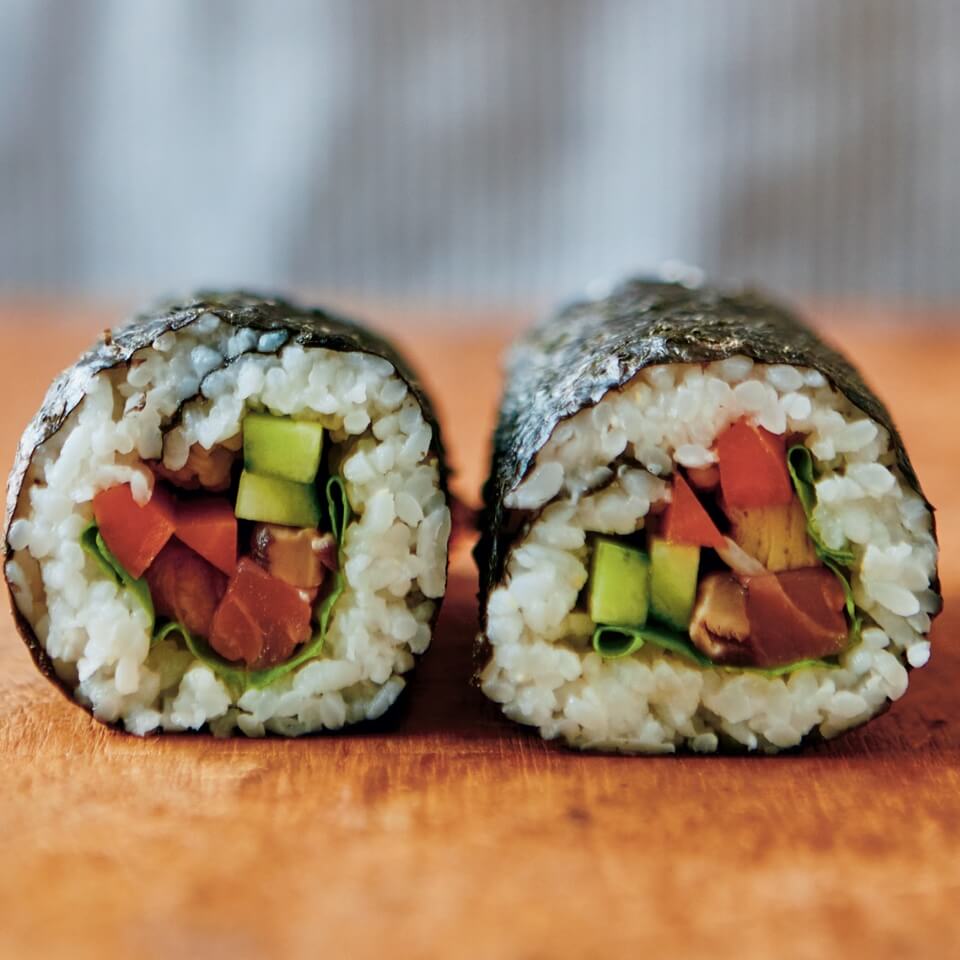
A clean roll reveals the cross-section clearly. If the rice is falling out, you likely pressed too hard during the shaping phase. If the nori is wrinkled, the rice layer was too thick or uneven. With practice, the tension becomes intuitive, allowing you to focus on the flavor profiles of the ingredients themselves.
Slice and plate carefully
A clean cut is the difference between a roll that holds together and one that unravels into a mess. Visual appeal signals freshness and precision, preparing your mind for the flavors inside. The goal is to expose the ingredients evenly without crushing the rice or squeezing out the filling.
Start with a sharp yanagiba or a high-quality chef’s knife. Dull blades tear the nori and mash the shari (sushi rice). Before every slice, dip the blade in a small bowl of water mixed with a touch of rice vinegar. This prevents the sticky rice from clinging to the steel, ensuring each cut is smooth and clean. Wipe the blade dry with a damp cloth between cuts to keep the surface friction-free.
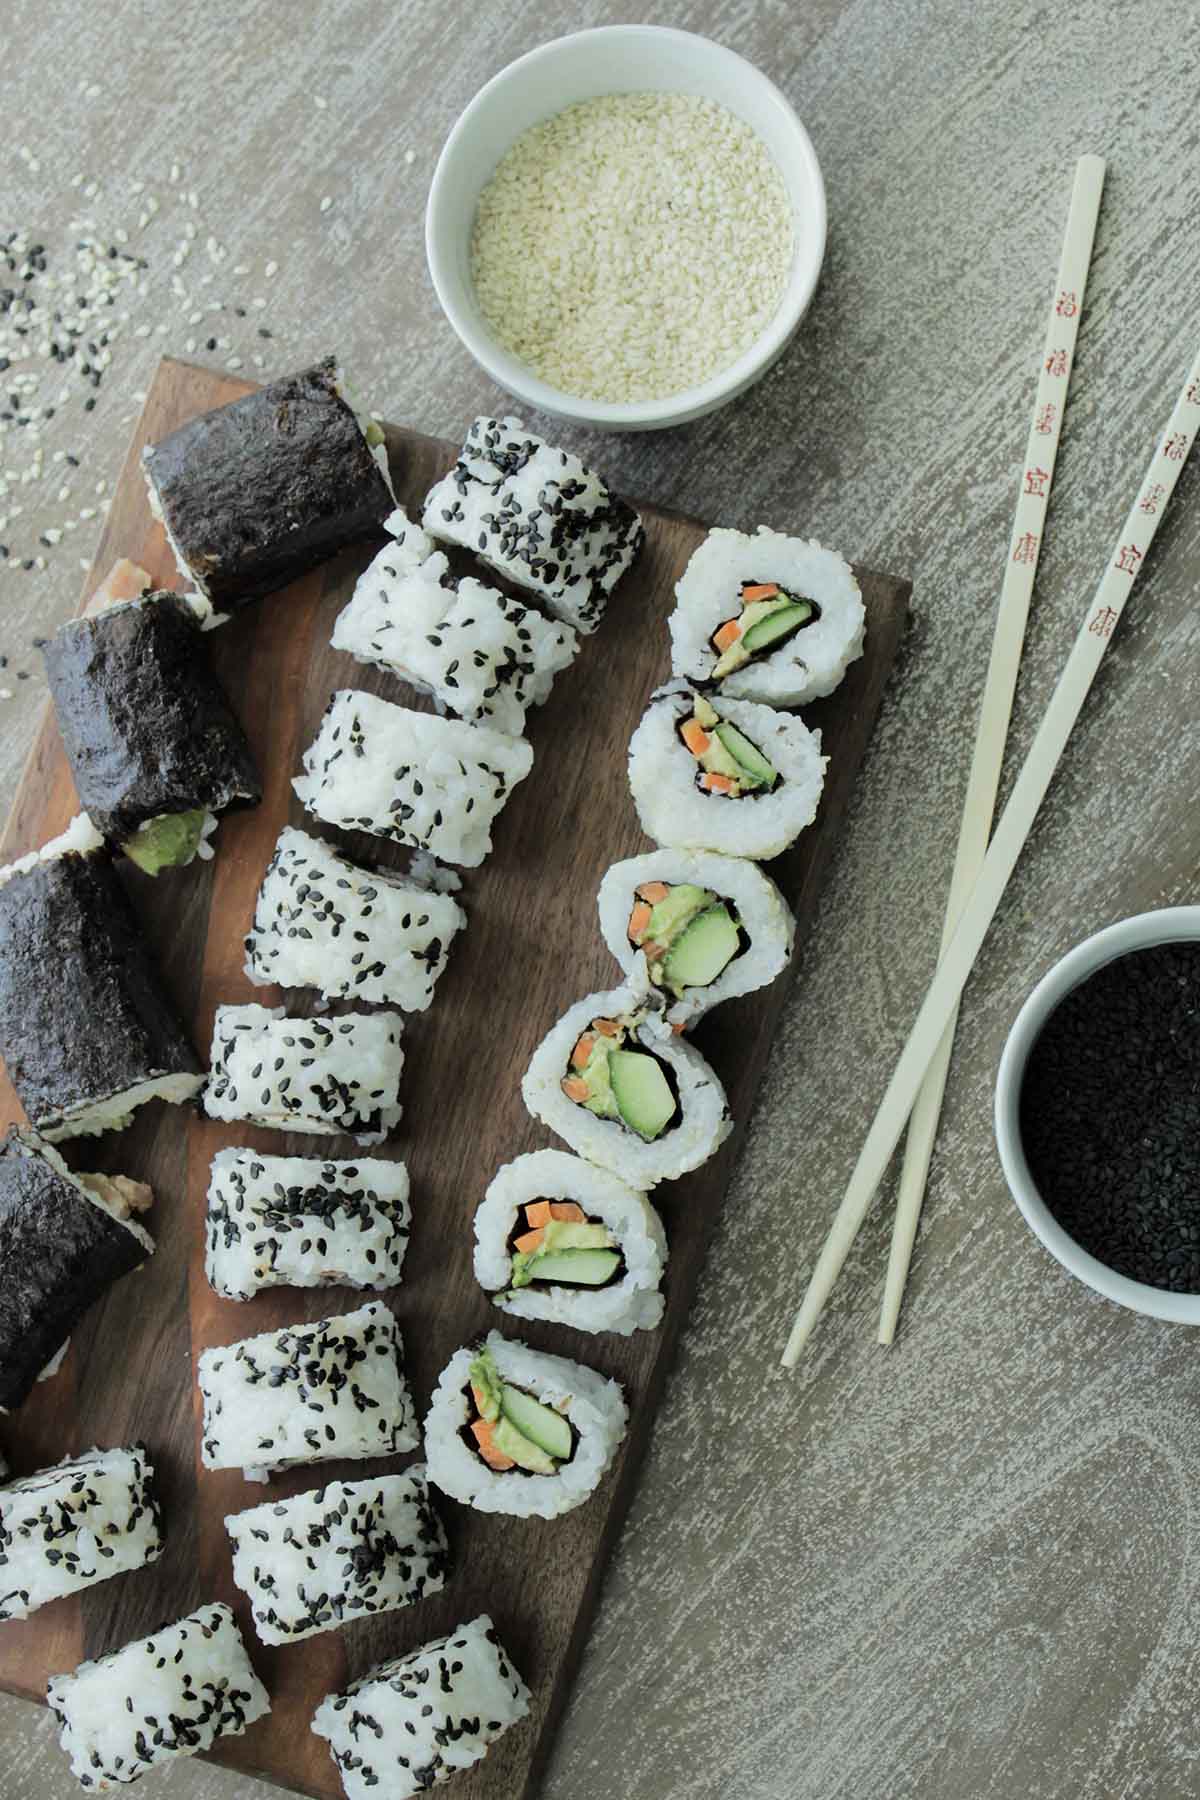
Apply even, gentle pressure. Let the weight of the knife do the work rather than sawing back and forth. For a standard hosomaki (thin roll), cut it into six or eight pieces. For futomaki (thick rolls), four pieces are standard. Cut through the center first, then align the halves and cut again for perfect symmetry.
Arrange the slices on the plate with the cut sides facing up. This showcases the cross-section, allowing you to appreciate the balance of ingredients before the first bite.
Taste and cleanse your palate
Tasting sushi is about noticing the subtle differences in rice acidity, fish fat, and seasoning. To appreciate each piece fully, you need to reset your taste buds between bites. This prevents the flavors from blending into a single, muddy impression.
The role of pickled ginger
Pickled ginger (gari) is the standard palate cleanser in a sushi meal. Its sharp, slightly sweet heat clears lingering oils and flavors from your tongue. This reset allows the next piece to stand out on its own. It is important to eat ginger between pieces, not on top of the fish. Placing ginger on the sushi can mask the delicate flavor of the raw fish and the chef’s intended seasoning. Think of the ginger as a reset button, not a condiment.
Other cleansing options
If ginger isn’t to your liking, other acidic elements can serve the same purpose. A small sip of hot green tea or a bite of pickled vegetables can also clear the palate. The goal is to remove any lingering richness so you can taste the next piece with clarity.
Common rolling mistakes
Even experienced hands slip up when learning to build a sushi palate. These errors don't just ruin the shape; they mask the delicate balance of flavors you are trying to develop. Fixing these issues early ensures every roll tastes as good as it looks.
Too much rice
Rice is the foundation, not the star. Beginners often pile on excessive rice, burying the fish and vegetables. This creates a dense, starchy bite that overwhelms the subtle flavors of the ingredients. Aim for a thin, even layer that holds the roll together without competing with the filling.
Uneven filling distribution
Clumping all the ingredients in one spot causes the roll to burst or become lopsided. Spread your fillings in a consistent, narrow line across the center of the nori. This ensures every piece you cut has a balanced ratio of rice, seaweed, and filling, allowing you to taste the full spectrum of your sushi palate.
Rolling too tight
Squeezing the bamboo mat too hard compresses the rice and makes the roll tough to eat. The goal is to shape the roll, not crush it. Apply gentle, even pressure to form a tight cylinder. If the roll feels hard to the touch, it is too tight; loosen up to keep the texture light and pleasant.
Your sushi rolling checklist
Before you touch the nori, gather the essentials. A smooth rolling session depends on having the right tools within arm’s reach, so you don’t have to pause mid-sequence.
- Bamboo mat (makisu): Wrapped in plastic for easy cleaning.
- Sharp knife: Dull blades crush rice and tear fish.
- Bowl of water with vinegar: Keeps rice from sticking to your fingers.
- Fresh nori sheets: Check for cracks or tears before starting.
- Sushi rice: Cooked and seasoned to the perfect stickiness.
- Fillings: Fish, vegetables, or avocado, prepped and ready.
This checklist ensures you can focus on technique and flavor rather than hunting for supplies. Once everything is set, you’re ready to build your sushi palate with confidence.
No comments yet. Be the first to share your thoughts!