
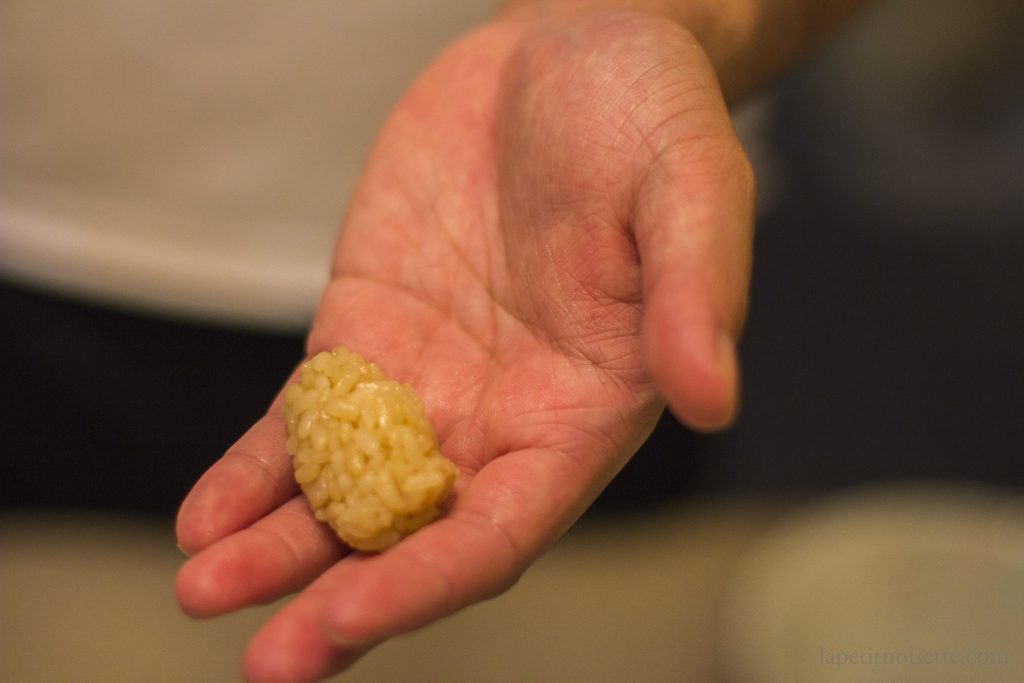

Defining nigiri sushi
What Is Nigiri Sushi works best as a clear sequence: define the constraint, compare the realistic options, test the tradeoff, and choose the path with the fewest hidden costs. That order keeps the advice usable instead of decorative. After each step, pause long enough to check whether the recommendation still fits the reader's actual situation. If it depends on perfect timing, unusual access, or a best-case budget, include a simpler fallback.
The simplest way to use this section is to write down the real constraint first, compare each option against it, and choose the path that still works outside ideal conditions.
Preparing the sushi rice (shari)
The foundation of any great nigiri is the shari, or sushi rice. Without properly seasoned and textured rice, even the finest fish will fall flat. The goal is to create grains that are distinct yet cohesive, holding their shape under gentle pressure while remaining tender.
Rinse until the water runs clear
Start with short-grain Japanese rice. Place the rice in a large bowl and cover with cold water. Swirl the grains with your hand; the water will turn cloudy from surface starch. Drain and repeat this process 3 to 5 times. Stop only when the rinse water is nearly clear. Excess starch makes the rice gummy and prevents the vinegar from coating each grain evenly.
Cook with precise water ratios
Use a 1:1.1 rice-to-water ratio for standard absorption cooking. Soak the rinsed rice for 30 minutes before heating. This allows the grains to absorb water evenly, preventing hard centers. Bring the pot to a boil, then immediately reduce to the lowest possible heat. Cover tightly and cook for 12 minutes. Remove from heat and let it steam, still covered, for another 10 minutes. Do not lift the lid during cooking.
Season while hot
n Transfer the hot rice to a wide, non-metallic bowl (a hangiri or large wooden tub is ideal). Sprinkle a mixture of rice vinegar, sugar, and salt evenly over the surface. The classic ratio is 5:2:1 for vinegar:sugar:salt, adjusted to taste. Use a rice paddle to cut and fold the rice gently. This "cutting" motion separates the grains without crushing them. Fan the rice while mixing to cool it quickly, which gives the rice its characteristic glossy shine.
Cover and rest
Cover the bowl with a damp cloth to prevent the rice from drying out. Let it rest at room temperature for at least 20 minutes before using. The rice should feel warm to the touch, not hot. If it cools completely, the texture hardens and becomes difficult to shape into nigiri. Discard any leftover rice that has cooled below room temperature; it will not hold together properly for hand-pressing.
Slicing the Fish Properly
The quality of nigiri depends heavily on how you prepare the topping. A poorly cut slice can make expensive fish taste tough or chewy, regardless of its freshness. The goal is a slice that is thick enough to hold its shape but thin enough to yield easily to the tongue.
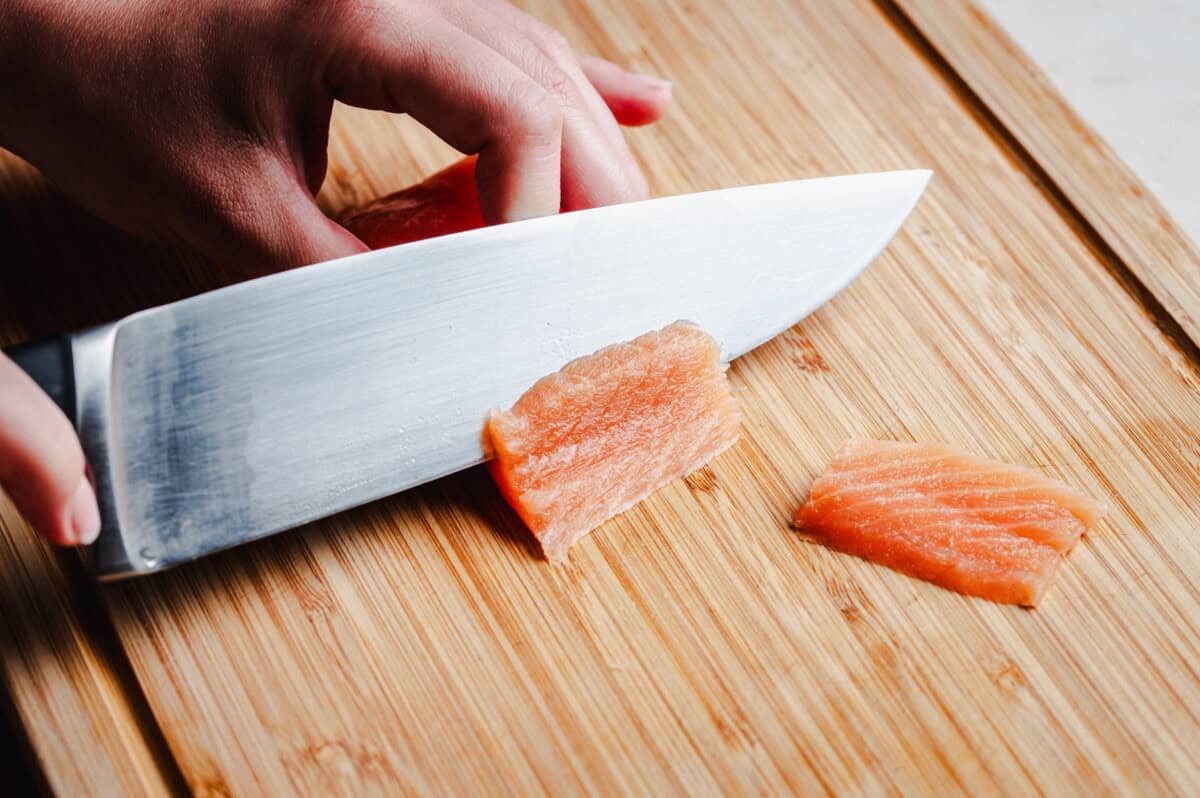
Start by identifying the grain of the fish. For most tuna or salmon cuts, the muscle fibers run lengthwise. You must slice perpendicular to these fibers, cutting across the grain. This technique breaks up the long muscle chains, ensuring the sushi melts rather than resisting your bite. If you cut with the grain, the texture will feel stringy and unpleasant.
Aim for a thickness of about 1/2 inch (1.2 cm). This standard allows the fish to balance with the rice ball without falling apart. Use a single, smooth draw of your knife from heel to tip. Do not saw back and forth, which can crush the delicate flesh. Wipe the blade clean between cuts to prevent cross-contamination and maintain a clean edge.
Hand-pressing the nigiri
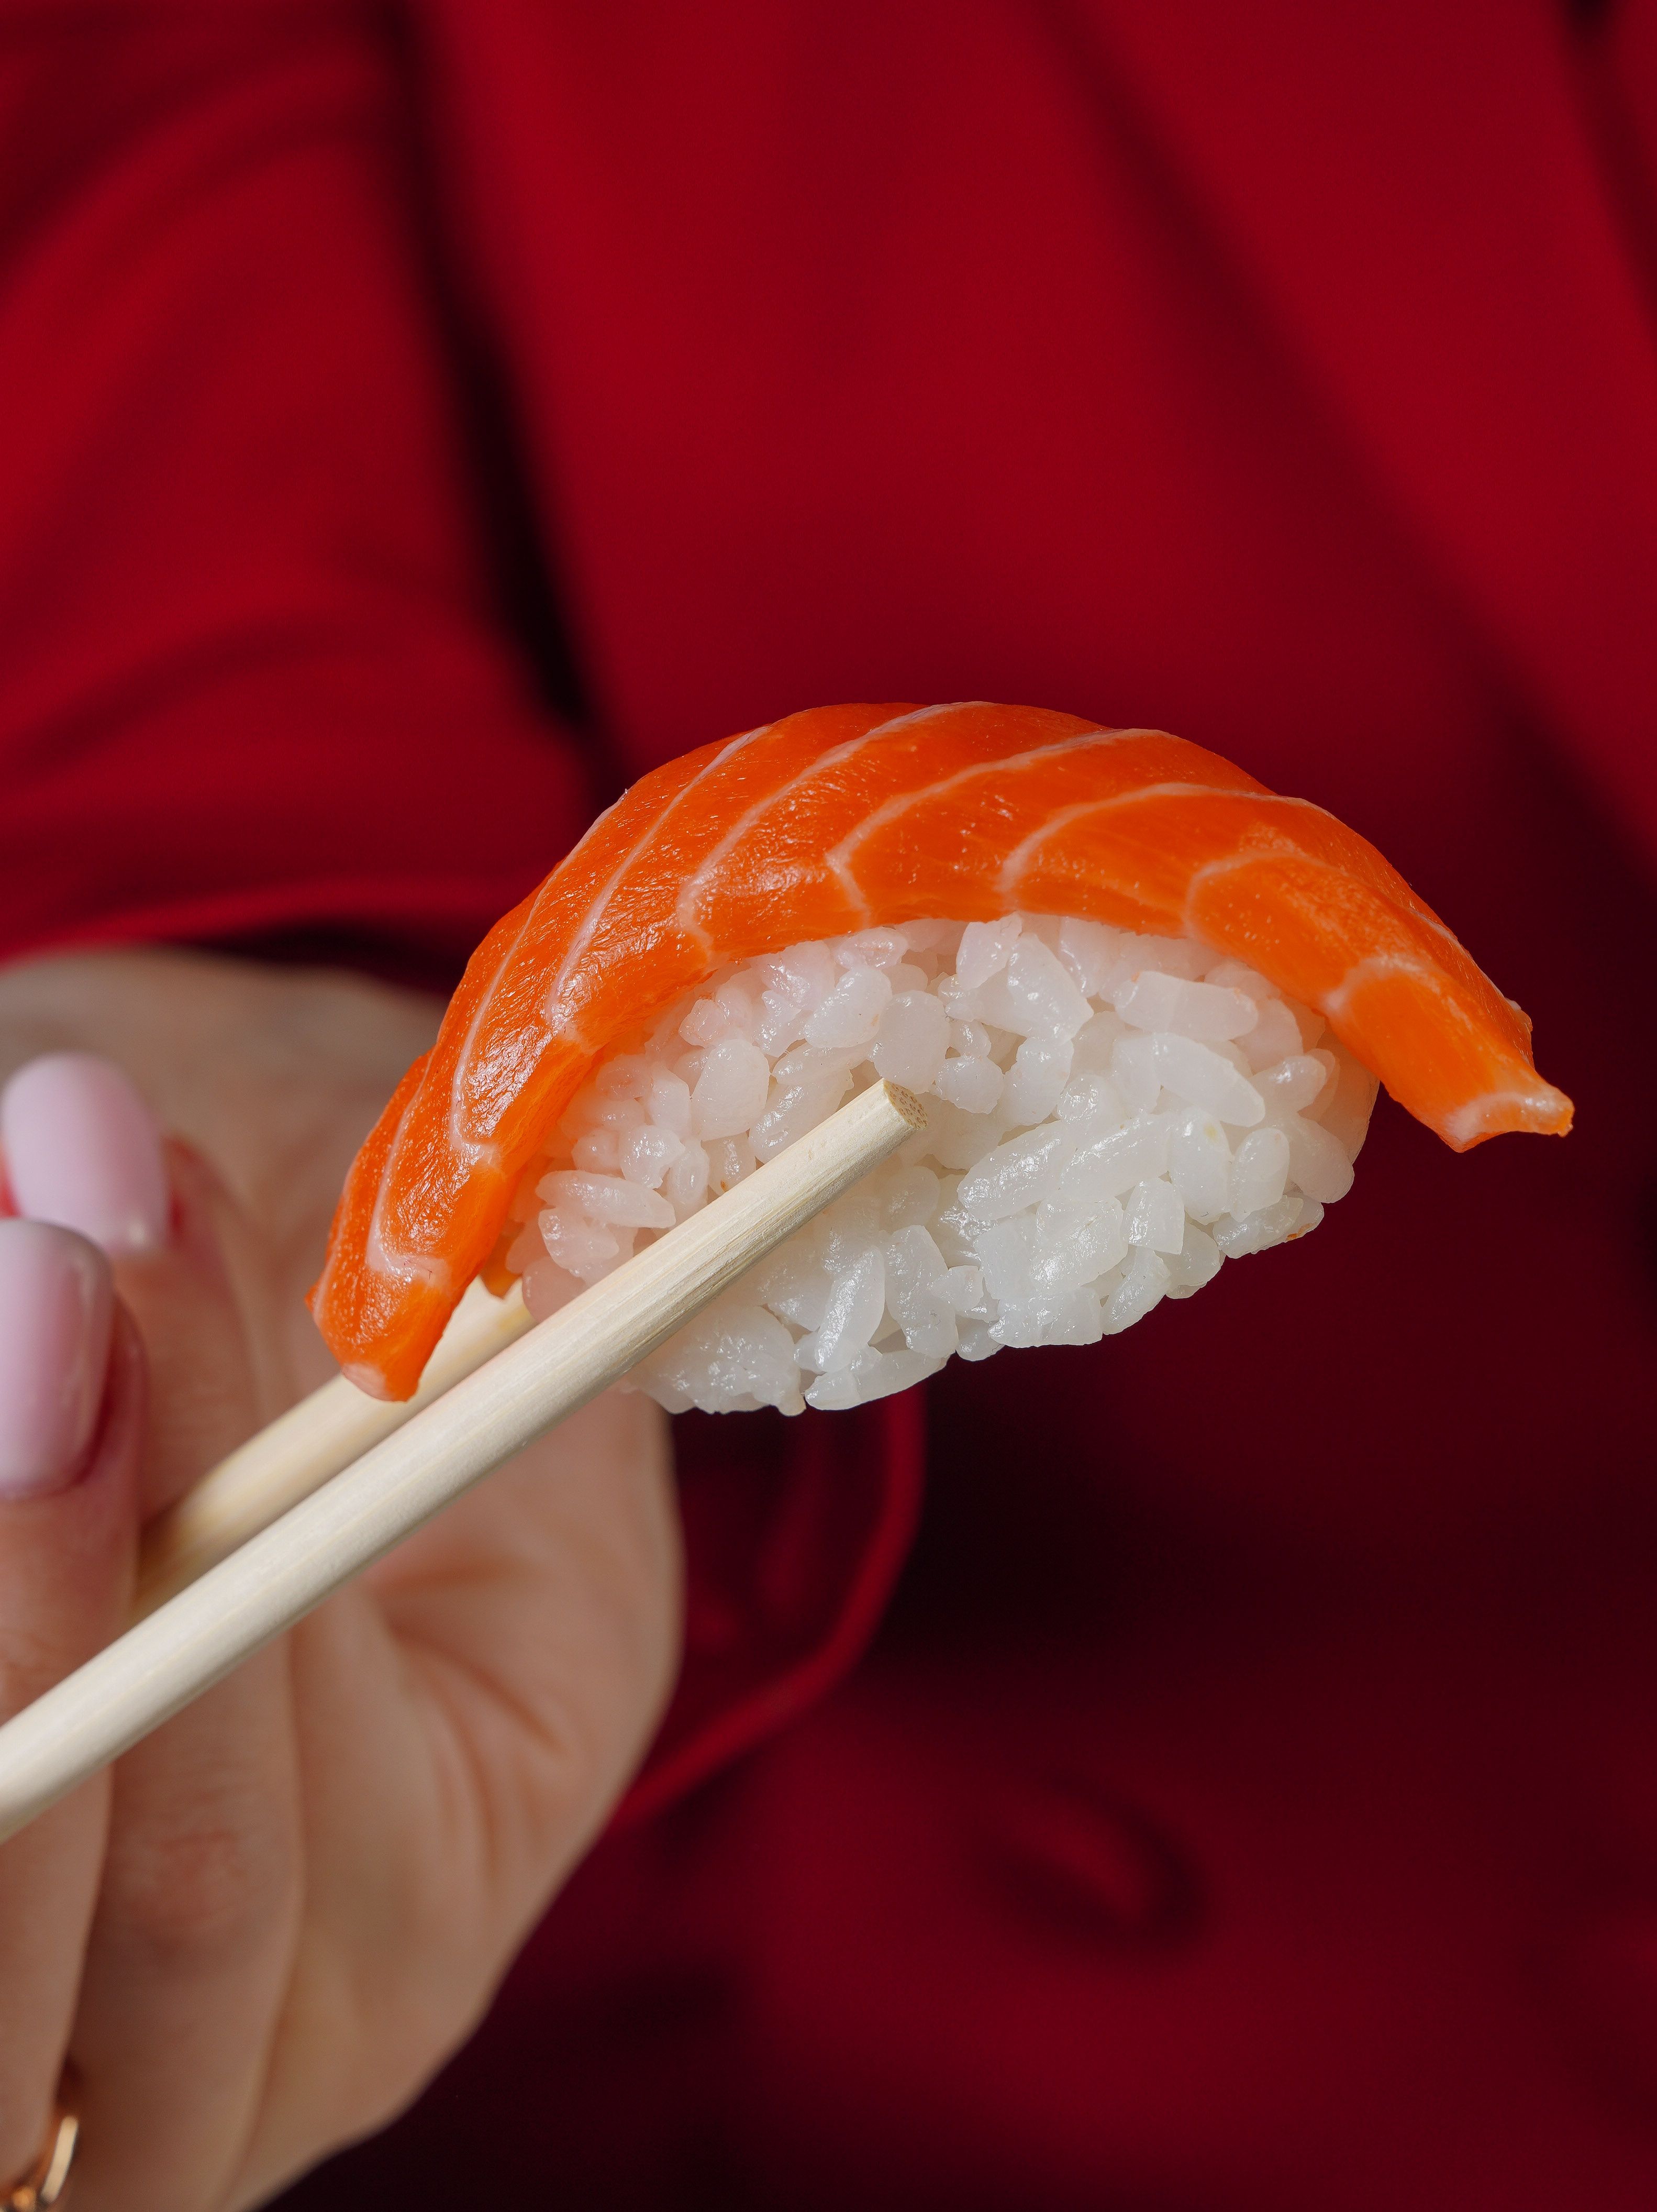
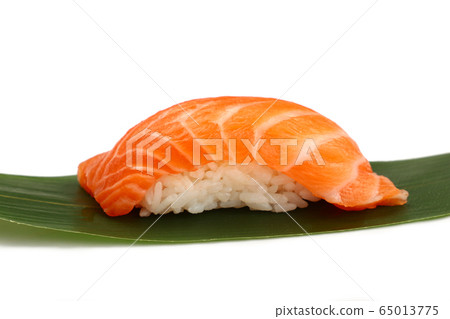
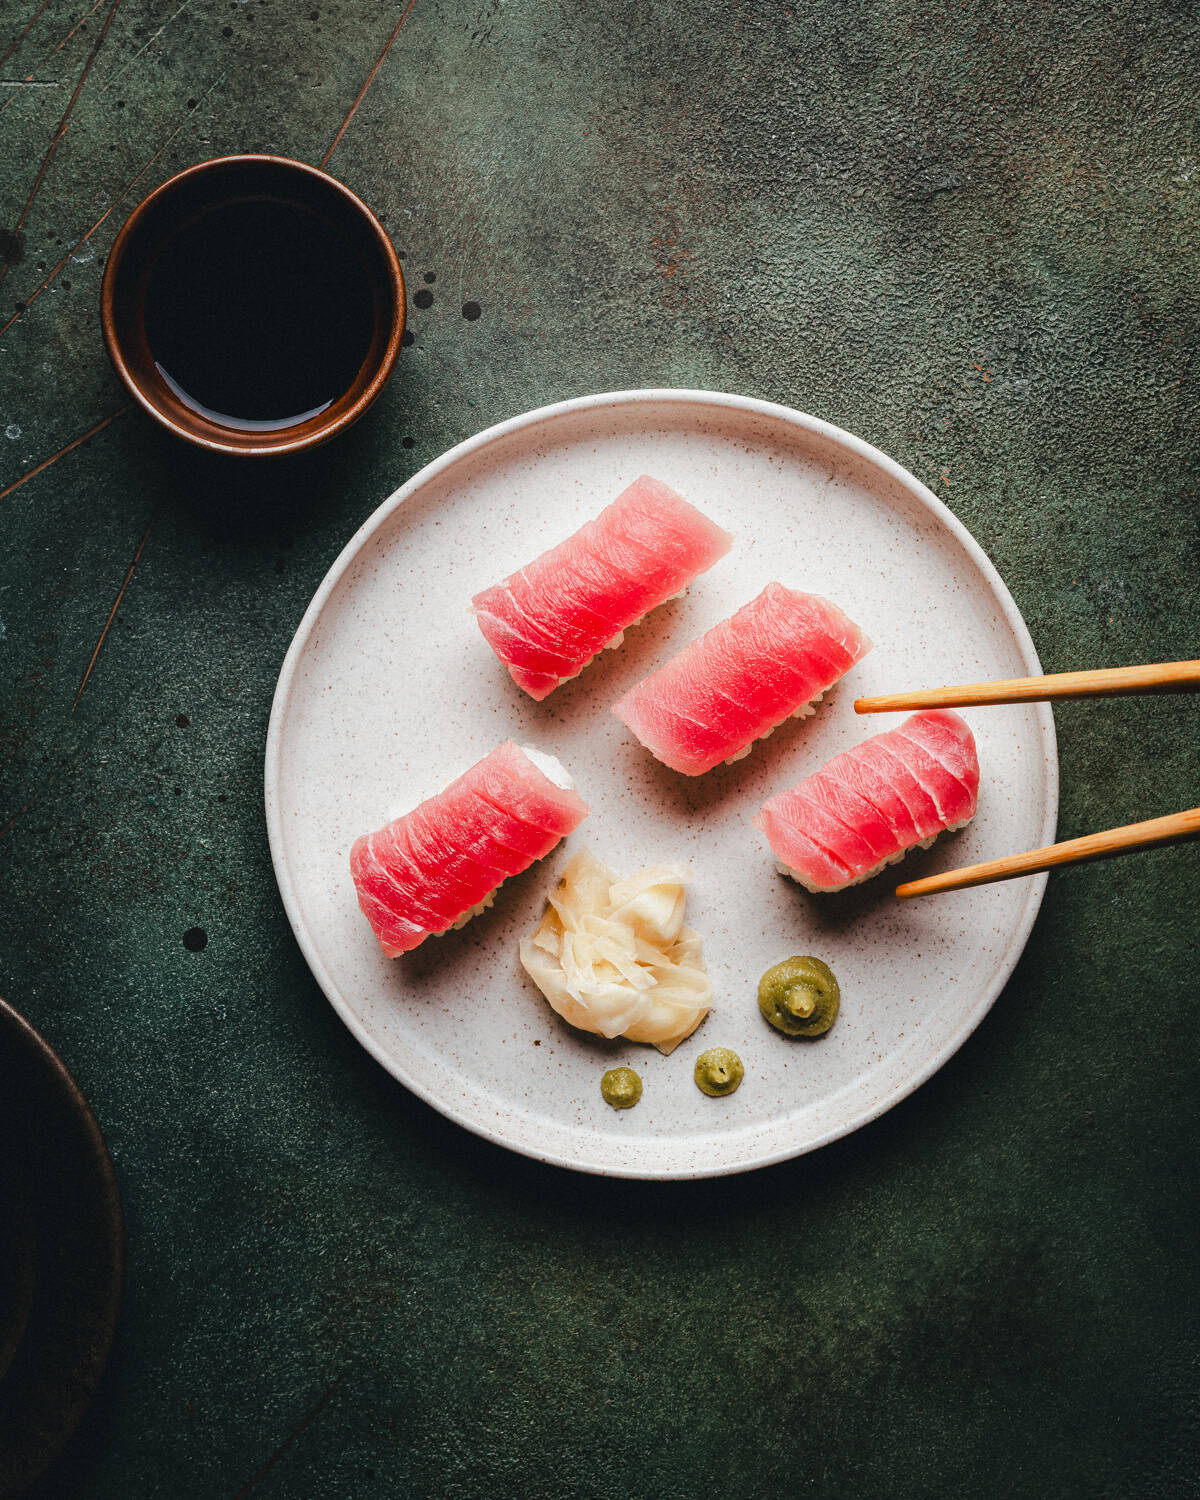
The difference between sushi and nigiri comes down to this moment: the hand-press. Nigiri is not a roll; it is a small, hand-formed pillow of vinegared sushi rice topped with a slice of fish or seafood. The goal is to create one perfect bite where the rice holds its shape but yields easily to the tongue.
To achieve this, you need tezu (vinegared water). This mixture prevents the sticky sushi rice from adhering to your hands while keeping the grains separate enough to press. Without tezu, the rice will clump, and the delicate structure of the nigiri will collapse before it reaches the plate.
1. Prepare the tezu
Mix about half a cup of water with one tablespoon of rice vinegar. Keep a small bowl of this mixture within arm’s reach of your cutting board. Dip your fingers into the tezu before touching the rice. This wetting step is essential for maintaining control and hygiene throughout the process.
2. Form the rice mound
Take a portion of sushi rice, roughly the size of a golf ball. Gently cup it in your palm and shape it into an oval mound. Do not squeeze tightly. The rice should hold together through its own stickiness, not force. If you press too hard, you will crush the grains, resulting in a dense, hard block that lacks the airy texture required for proper nigiri.
3. Apply the topping
Lightly brush the underside of your fish slice with a tiny amount of wasabi. This acts as a natural adhesive. Place the fish over the rice mound. The fish should cover most of the rice but leave a small margin of rice visible on the sides for aesthetic balance.
4. Press and shape
Hold the nigiri in your non-dominant hand. Use the index and middle fingers of your dominant hand to gently press the fish into the rice. Apply pressure from the sides and top, rotating the nigiri slightly to ensure even shaping. The final product should be firm enough to hold its shape when flipped, but loose enough to break apart easily when eaten.
5. Flip for presentation
Once the rice and fish are bonded, flip the nigiri over so the fish faces up. This is the final presentation side. The rice base should be smooth and oval, with the fish sitting securely on top. Serve immediately to maintain the temperature contrast between the room-temperature rice and the cool fish.
Fix common nigiri mistakes
Even experienced home cooks struggle with nigiri when the mechanics shift. The rice is the foundation; if it fails, the entire bite collapses. Here is how to spot and correct the three most frequent errors.
Rice falls apart
If your nigiri crumbles when you lift it, the rice is either too cold or too dry. Sushi rice must be warm to the touch, roughly body temperature, to remain sticky. If the rice has cooled, it loses its adhesive properties. Mistake: letting the bowl sit too long. Fix: cover the rice with a damp cloth while you prepare toppings to retain moisture and heat.
Topping slides off
A loose slice of fish usually means the rice ball is too hard or the fish is dry. When you press the rice, it should offer slight resistance, not feel like a stone. If the rice is dense, you are pressing too hard. Additionally, wet fish will slide. Pat the fish dry with a paper towel before placing it on the rice. A light brush of soy sauce or a dab of wasabi on the rice acts as glue.
Sushi is too dense
Over-pressing the rice squeezes out the air pockets that give nigiri its light texture. The rice should hold its shape but still feel airy. Mistake: clenching your fist tightly. Fix: use a gentle, cupping motion with your palm. The rice should be loose enough to separate easily with teeth, not a solid brick.
-
Rice is warm to the touch
-
Fish is patted completely dry
-
Rice is pressed lightly, not clutched
Frequently asked: what to check next
Work through Mastering the Art of Nigiri
No comments yet. Be the first to share your thoughts!