

Essential tools for rolling sushi
You only need a handful of items to start making sushi at home. The most common misconception is that you need expensive, specialized equipment. In reality, the core toolkit is minimal and mostly consists of kitchen staples you likely already own. Getting these right ensures your rolls hold their shape and your rice doesn’t stick to your hands.
The bamboo rolling mat
A bamboo sushi mat (makisu) is the standard tool for shaping maki rolls. It provides the even pressure needed to compact the rice without crushing the fillings. A clean kitchen towel can work in a pinch, but a mat gives you the most consistent results. Some professionals cover the mat in plastic wrap to make cleanup faster, though it isn’t strictly necessary if you’re careful.
The sharp knife
A sharp chef’s knife or a dedicated sushi knife (yanagiba) is non-negotiable. Dull blades crush the roll, squeezing out rice and filling instead of slicing through them cleanly. Keep the blade wet while cutting to prevent sticking. A high-quality Western chef’s knife with a sharp edge works perfectly fine for beginners.
The rice bowl and paddle
Use a non-metallic bowl, traditionally wooden (hangiri), to mix and cool your sushi rice. Metal can react with the vinegar in the seasoning. A flat rice paddle (shamoji) is ideal for folding the rice gently without mashing the grains. A wide spatula or even your fingers (dipped in water) can substitute, though a paddle keeps the rice fluffy.
Wet towel and small bowl
Keep a damp kitchen towel and a small bowl of water nearby. Wetting your hands before handling rice prevents it from sticking to your skin. The towel helps keep your workspace clean and your hands moist. This simple setup makes the rolling process much smoother and less messy.
Checklist of essentials
- Bamboo sushi mat
- Sharp chef’s knife
- Non-metallic rice bowl
- Rice paddle or wide spatula
- Damp kitchen towel
- Small bowl of water
Preparing sushi rice and nori
The foundation of any good sushi roll is the rice. It needs to be sticky enough to hold the roll together but tender enough to bite through. Start with short-grain Japanese rice, rinse it until the water runs clear to remove excess starch, and cook it using the standard water ratio. While it cooks, prepare the seasoning: a mix of rice vinegar, sugar, and salt. Once the rice is done, transfer it to a wide wooden tub or a large bowl. Spread it out gently and fold in the seasoning mixture while fanning it to cool. The goal is to reach room temperature with a glossy, slightly sticky texture. Do not mash the grains.
While the rice cools, select your nori. Look for thin, dark green sheets that feel dry and crisp. The shiny side of the nori should always face down when you place it on the bamboo mat; the duller side faces up to help the rice adhere better. If your nori feels damp or flexible, it may not roll tightly and could tear. Keep your nori sheets in an airtight container until you are ready to use them to maintain that crispness.
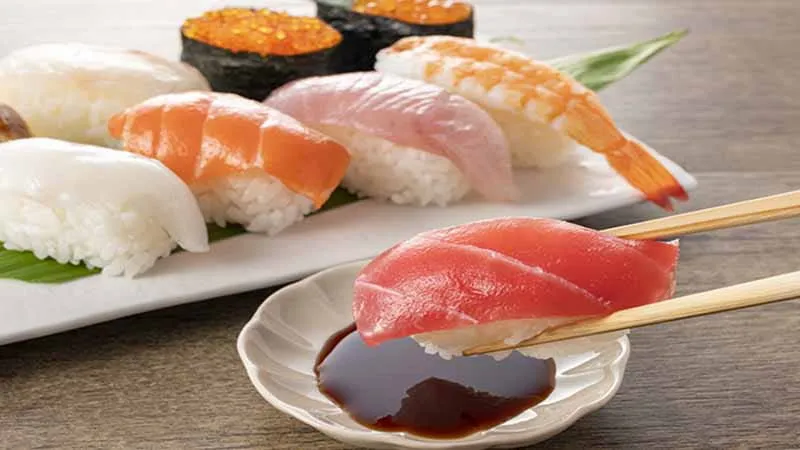
Temperature matters just as much as texture. Sushi rice should be used at body temperature, not cold from the fridge or hot from the pot. Cold rice becomes hard and loses its stickiness, making it difficult to shape. If you are rolling for a gathering, keep the rice covered and warm in a rice cooker on the "warm" setting, or transfer it to a bowl covered with a damp towel. This keeps the grains separate yet cohesive, ready to accept your fillings without falling apart.
Roll tight, clean lines
Rolling basic maki sushi is less about strength and more about leverage. The goal is to create a cylinder that holds its shape without crushing the fillings inside. Think of the bamboo mat as a clamp, not a press. You are guiding the roll into place, not squeezing it into submission.
Start by laying your nori sheet on the bamboo mat. Place your fillings in a horizontal line across the center. Keep the fillings modest—too much filling will cause the roll to burst open or refuse to seal.
The rolling motion
Lift the edge of the bamboo mat closest to you with your thumbs. Use your fingers on top to hold the fillings in place. Lift the mat over the fillings, folding the nori edge over the center line. Press gently to adhere the nori to itself.
Lift the mat again. This time, use your thumbs to lift the edge of the nori and flip it over the fillings. This creates the tight, rounded shape characteristic of good maki. Use the mat to compress the roll lightly, ensuring the ingredients are snug but not mashed.
Sealing and shaping
Once the roll is fully formed, give it a final, firm squeeze. The nori should be completely wrapped around the rice and fillings. If the edge isn't sticking, dampen it with a little water and press firmly.
Let the roll rest for a minute. This allows the nori to set and the rice to settle. A tight roll will hold its shape when you move it to the cutting board. A loose roll will fall apart. Trust the mat to do the work for you.
Inside-out rolls and hand rolls
Once you’ve mastered the standard maki roll, flipping the process creates uramaki, or inside-out rolls. The rice sits on the outside while the nori wraps the fillings. This style is popular in Western sushi bars but requires a slightly different technique to keep the rice from sticking to your hands.
Start by placing a sheet of plastic wrap over your bamboo mat. Lay the nori on the mat with the shiny side facing down. Spread a thin, even layer of sushi rice over the entire sheet. Flip the nori over so the rice side is against the plastic. Add your fillings in a line near the top edge, then roll tightly using the mat to shape the cylinder. Peel off the plastic wrap to reveal the rice exterior.

Hand rolls, or temaki, skip the bamboo mat entirely. These are cone-shaped rolls meant to be eaten immediately with your hands. Place a half-sheet of nori on your palm, shiny side down. Add rice and fillings to one corner, then roll the corner over the fillings to form a cone. Unlike maki rolls, temaki are not sliced and should be eaten within minutes to prevent the nori from becoming soggy.
Both styles offer variety in texture and presentation. Uramaki rolls are great for hiding fillings that might look unappetizing on the outside, while temaki provide a casual, interactive dining experience.
Slice and serve
The final presentation is just as important as the roll itself. Use a sharp chef’s knife and wipe the blade with a damp cloth between every cut. This prevents the rice from sticking and keeps each piece clean. Cut each roll into six or eight equal pieces to reveal the filling.
Serve immediately with traditional condiments. Soy sauce, wasabi, and pickled ginger are the standard trio. For a richer flavor, add a light drizzle of spicy mayo or a squeeze of fresh lime. The contrast of textures and temperatures makes the meal complete.
Common sushi rolling: what to check next
Even with the right tools, beginners often hit snags while rolling. These answers address the most frequent technical hurdles so you can keep your rolls tight and your rice intact.
What is the trick to rolling sushi?
The secret is tension and a tight start. Place your fillings near the bottom edge of the nori, then lift the mat and tuck it firmly over the filling, applying gentle pressure to create a compact cylinder. Once the first roll is sealed, continue rolling with even pressure. If the roll feels loose, stop and re-tuck before proceeding.
Do you roll sushi shiny side up or down?
Always place the nori with the dull, matte side facing up. The shiny side is smoother and designed to face inward against the rice. This texture difference helps the rice adhere properly, preventing your roll from sliding apart as you eat.
What can I use if I lack a sushi roller?
You can substitute a bamboo mat with a clean, flexible cutting board or even a sturdy piece of cardboard wrapped in plastic wrap. The goal is to have a flat, rigid surface that allows you to apply even pressure while shaping the roll. Just ensure any substitute is food-safe and easy to clean.
Do I wet nori before rolling?
Never wet the nori sheet itself. Moisture makes the seaweed soggy and difficult to handle, leading to tears. Instead, keep a bowl of cold water nearby to wet your hands before handling the rice. This prevents the sticky rice from clinging to your skin while keeping the nori crisp and manageable.
No comments yet. Be the first to share your thoughts!