
Start with the right tools
Building a sushi palate begins with the gear in your hands. The difference between a messy roll and a tight, elegant cylinder is rarely talent; it is usually a sharp knife and a properly prepared bamboo mat. You do not need a professional-grade setup to start, but you do need tools that respect the ingredients. Cheap, dull knives crush fish instead of slicing it, ruining the texture before the first bite.


As an Amazon Associate, we may earn from qualifying purchases.
The bamboo mat, or makisu, is your primary shaping tool. It provides the structure needed to compress the rice and fillings without them spilling out. Pair this with a long, sharp knife to slice your rolls cleanly. A serrated bread knife will tear the rice and fish, creating a jagged mess that falls apart on the plate. Keep a bowl of water nearby to wet your hands and fingers; this prevents the sticky rice from adhering to your skin while you shape the nigiri or rolls.
Prepare sushi rice correctly
The foundation of any sushi palate is the rice. Without properly seasoned, textured shari (sushi rice), even the finest fish will taste flat. The goal is to create grains that are tender yet distinct, clinging together just enough to hold their shape without turning into mush.
Place short-grain Japanese rice in a bowl and cover with cold water. Swirl gently with your hand to release the surface starch, then drain. Repeat this process 5 to 7 times. You know it is done when the water runs nearly clear. Excess starch is the enemy of good texture; it causes the rice to become gummy and sticky rather than cohesive.

Soak the rinsed rice in fresh water for 30 minutes before cooking. This allows the grains to absorb moisture evenly, ensuring they cook through to the center without becoming hard. Use a 1:1.1 ratio of rice to water. Bring to a boil, then reduce heat to low and simmer for 12 minutes. Turn off the heat and let it steam, undisturbed, for another 10 minutes.
While the rice steams, prepare the seasoning by gently heating rice vinegar, sugar, and salt in a small saucepan until dissolved. Do not boil. Once the rice is cooked, transfer it to a wide, non-metallic bowl. Drizzle the seasoning over the rice evenly. Use a rice paddle to cut and fold the rice, avoiding stirring motions that break the grains. This "cutting" motion coats each grain without mashing them.
Fan the rice while continuing to fold it gently. This speeds up cooling and gives the rice a glossy finish. The rice should reach body temperature (roughly 98°F or 37°C) before you begin rolling or forming nigiri. If it is too hot, it will cook the fish; if it is too cold, the vinegar flavor becomes sharp and the texture hardens.
Cover the bowl with a clean, damp cloth to prevent the surface from drying out and forming a skin. Let it rest for at least 15 minutes before use. This allows the flavors to settle and the moisture to redistribute evenly throughout the grains.
A quick checklist to ensure your sushi rice is ready:
- Rice rinsed until water runs clear
- Soaked for 30 minutes prior to cooking
- Cooked with a 1:1.1 rice-to-water ratio
- Seasoned with a vinegar-sugar-salt mix while hot
- Folded, not stirred, to maintain grain integrity
- Cooled to body temperature and covered with a damp cloth
Roll sushi with precision
Rolling maki is a test of tension. The nori must stay intact while the rice holds its shape, and the filling stays centered so every slice reveals the same cross-section. Think of the roll like a tightly wound carpet: if the edges are loose, the structure collapses when you cut.
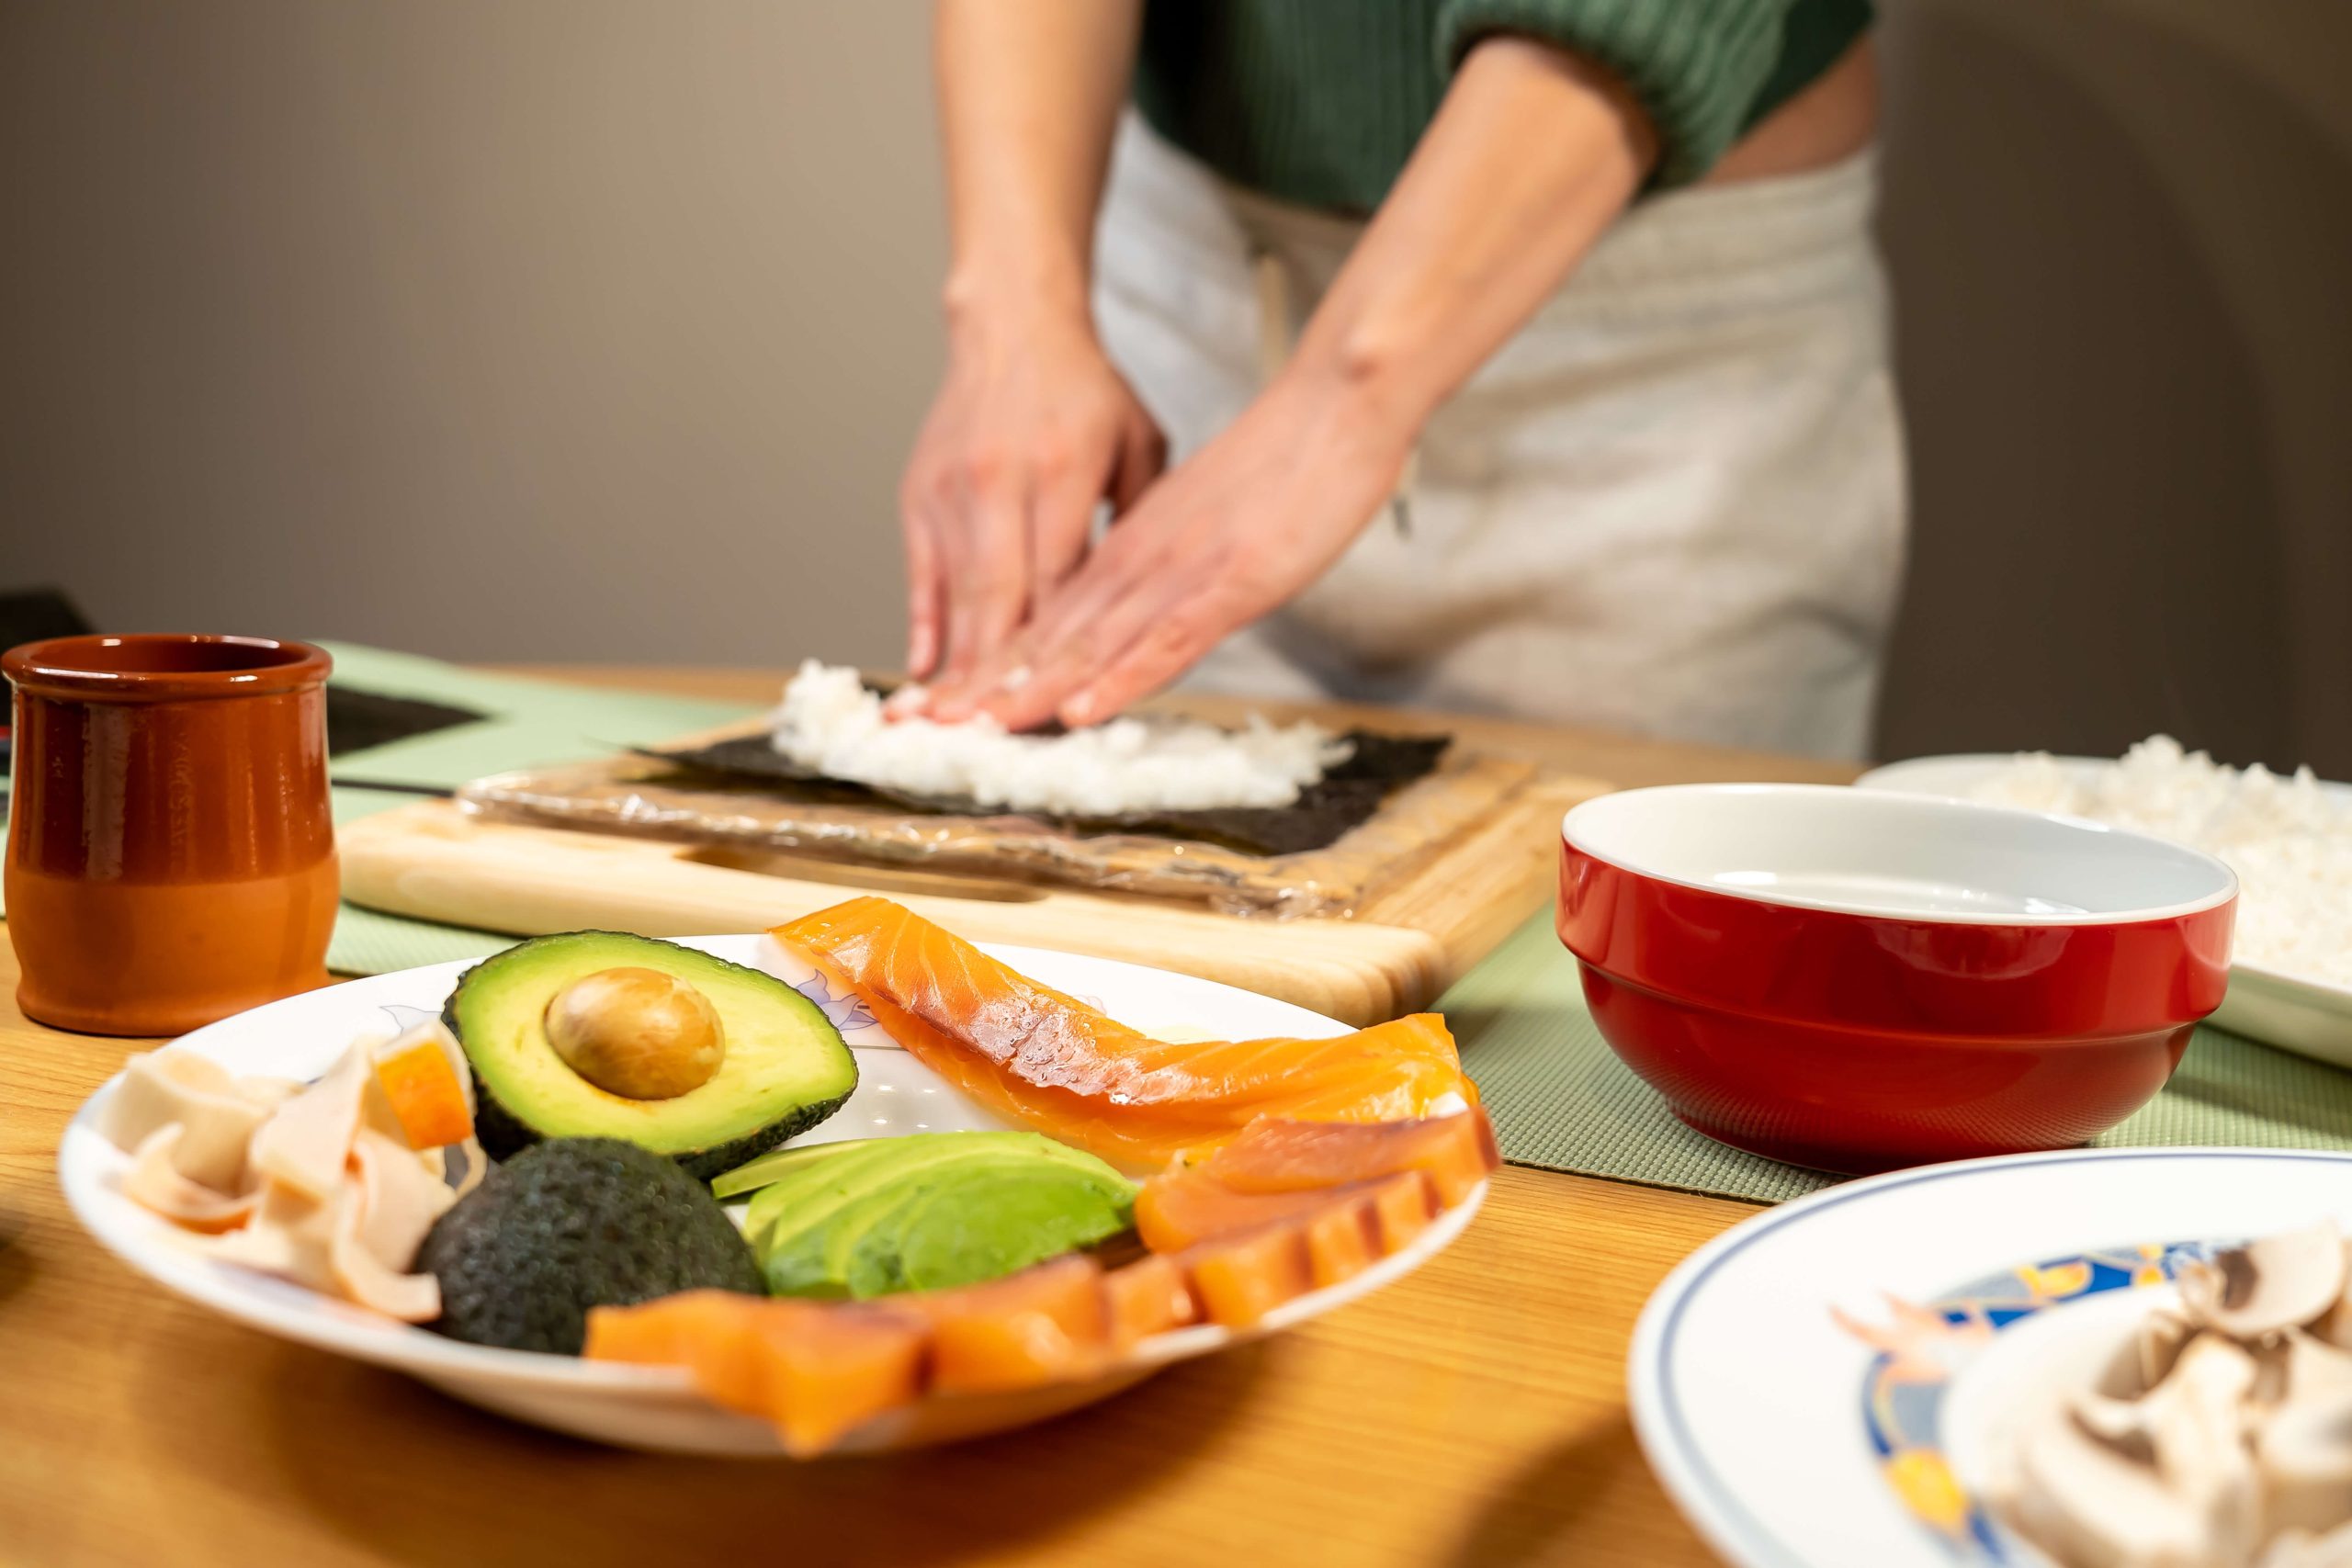
Start with a bamboo mat wrapped in plastic wrap to prevent sticking. Lay a sheet of nori shiny-side down on the mat. Spread a thin, even layer of sushi rice, leaving a one-inch strip of nori exposed at the top. This empty strip acts as the glue for sealing the roll later.

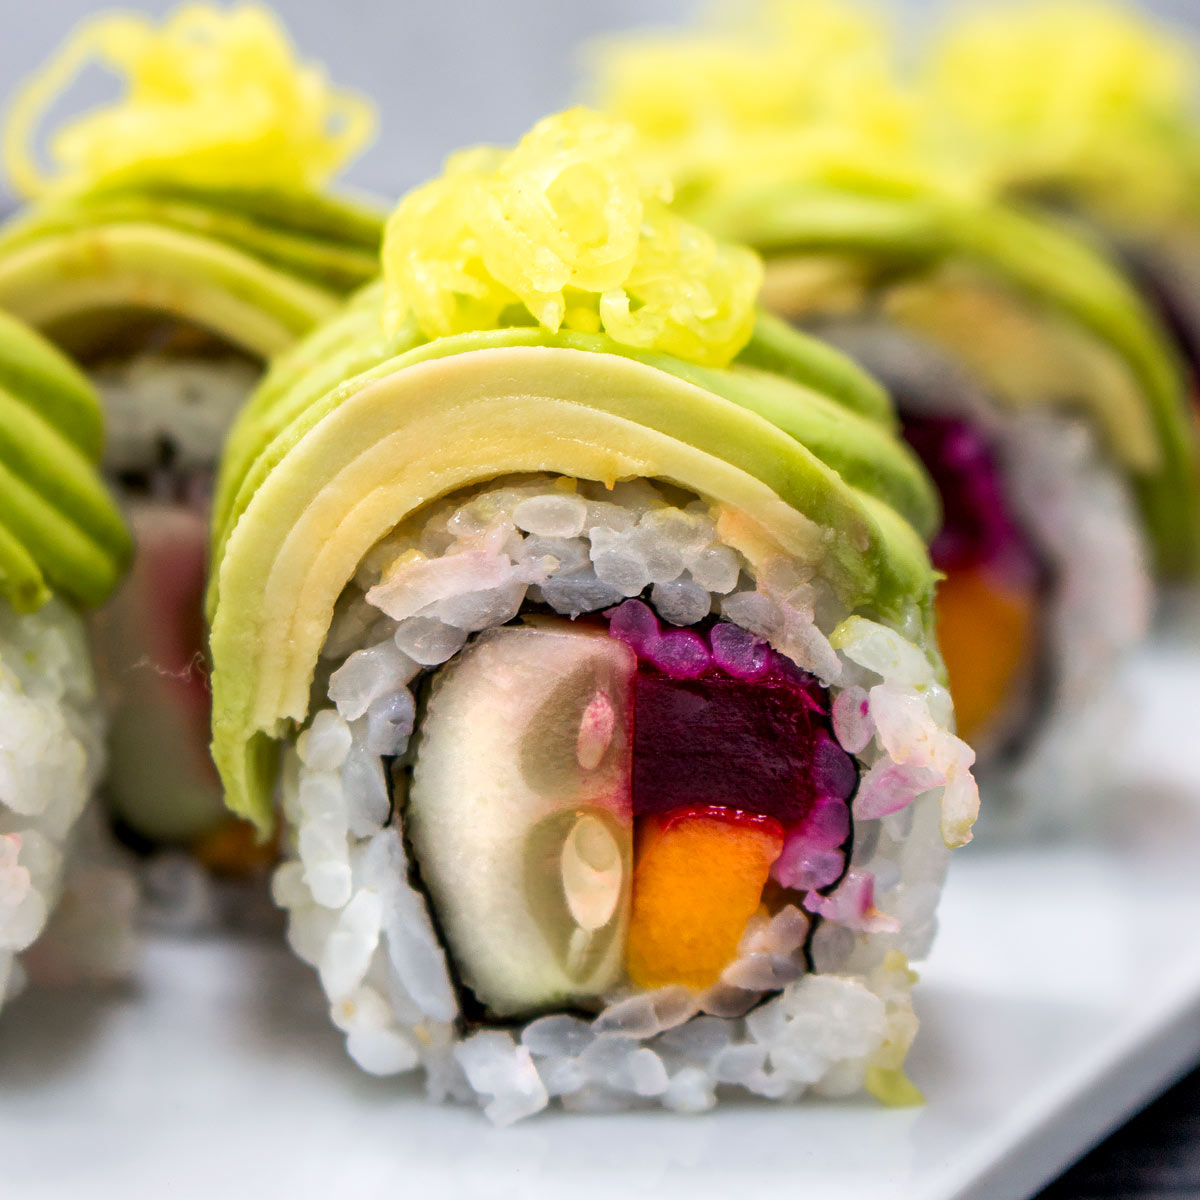
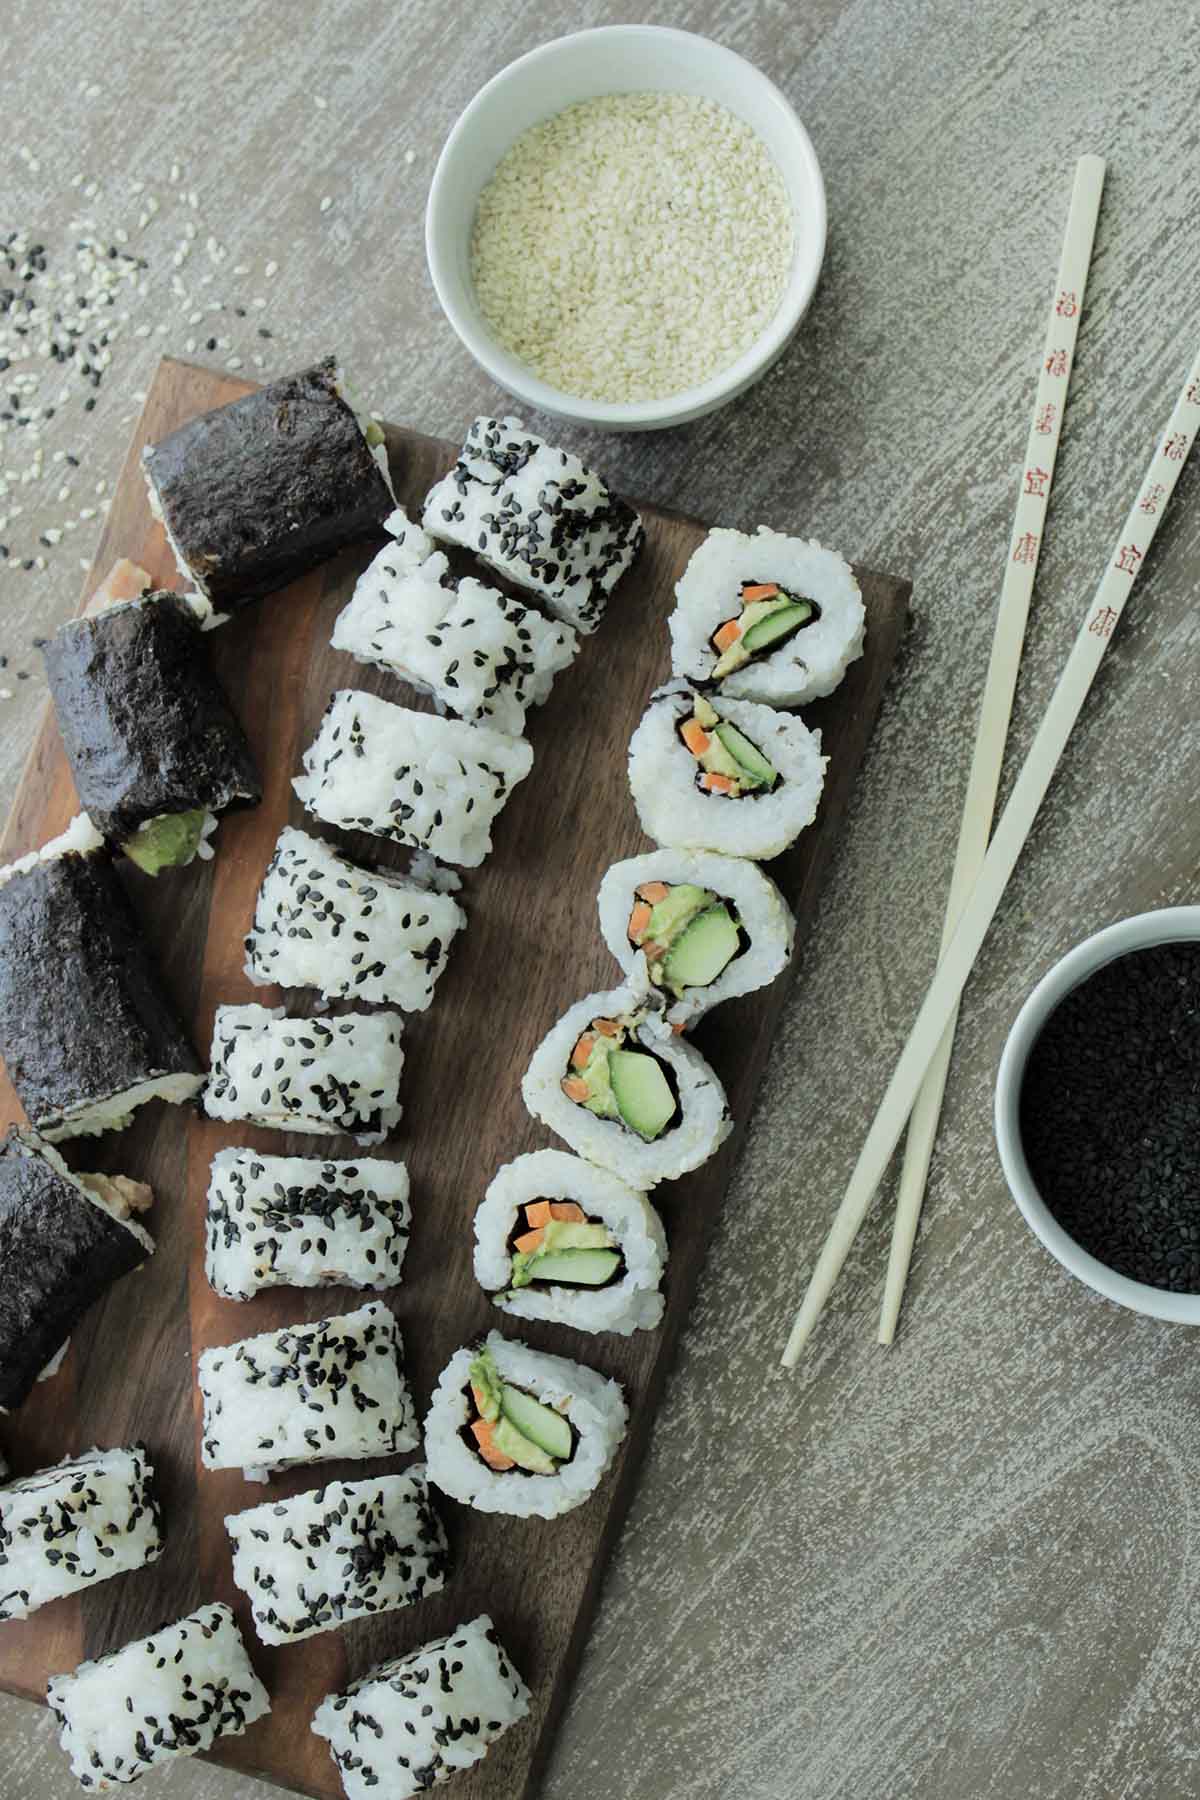
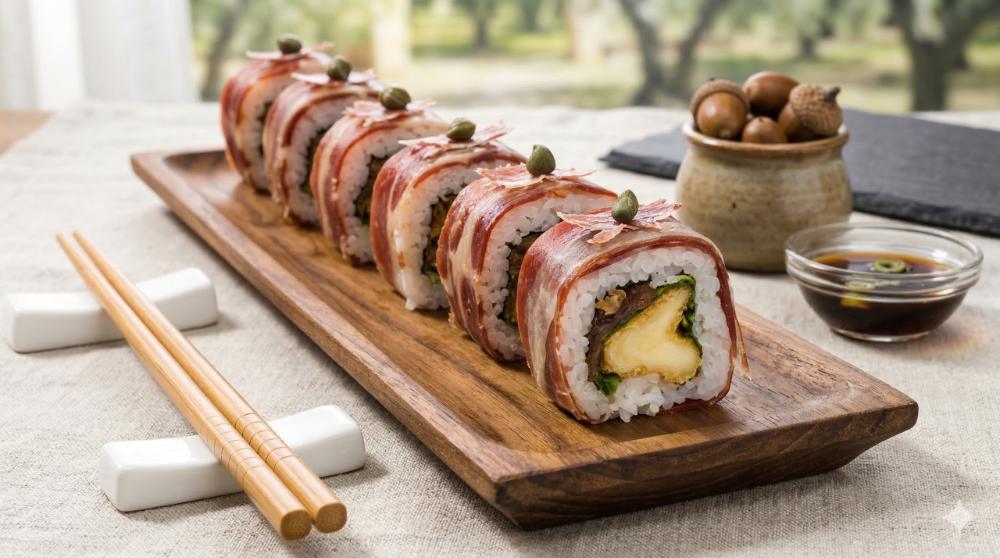
Place your fillings in a single horizontal line across the center of the rice. Keep the pile low; a mountain of ingredients will burst the seam. A simple combination of cucumber and avocado works best for learning, as these ingredients offer stability without excessive moisture.
Lift the edge of the bamboo mat closest to you. Use your thumbs to hold the fillings in place while you fold the nori over them. Press gently but firmly to create a tight cylinder. The goal is to eliminate air pockets, which cause the roll to flatten.
Once the roll is wrapped, lift the mat slightly and roll the exposed one-inch strip of nori over the cylinder. Dampen this strip with a wet finger to activate the starch, which seals the seam. Press the entire roll gently with your palms to square off the edges.
Use a sharp knife dipped in water to prevent the rice from sticking. Cut the roll in half first, then align the halves side-by-side to cut each half into three or four pieces. Wipe the blade clean between cuts for clean, professional slices.
The secret to a clean cut is not force, but a sharp blade and a steady hand. If the roll feels too soft, chill it in the refrigerator for ten minutes before cutting. This firms up the rice and fillings, ensuring the structure holds during slicing.
Shape nigiri by hand
Nigiri is the purest expression of sushi. Unlike maki rolls, which rely on a bamboo mat and nori to hold ingredients together, nigiri depends entirely on the chef’s hands to bind rice and fish. This technique requires a balance of firmness and gentleness. The rice must hold its shape when lifted, yet yield easily to the teeth. If you press too hard, the rice becomes dense and unpleasant. Press too lightly, and the piece falls apart before it reaches your mouth.
The goal is to create a cohesive unit where the rice and topping feel like a single bite. This tactile experience is central to building your sushi palate, as it allows you to taste the interplay between the seasoned rice and the raw fish without interference.
Wet your hands in a bowl of water mixed with a splash of rice vinegar (tezu). This prevents the sticky rice from adhering to your skin. Keep a damp cloth nearby to wipe your hands frequently. Dry hands will tear the rice, while wet hands will dilute the seasoning.
Take a small portion of sushi rice, roughly the size of a large grape. Gently cup it in your palm and press it lightly with your thumb to form an oblong mound. Do not squeeze. The rice should be loose enough to separate slightly when you break it apart, but tight enough to maintain its form.
Take a slice of fish or vegetable and press a tiny amount of wasabi onto it if desired. Place the topping over the rice mound. For fatty fish like otoro, lay the slice flat. For firmer fish like tuna, angle the slice slightly to create a dynamic shape.
Using your index finger and thumb, gently press the topping onto the rice from the sides. Rotate the piece in your hand and apply light pressure from all angles. The goal is to fuse the rice and fish without crushing the rice grains. The final piece should be firm enough to turn upside down without falling apart.
Mastering nigiri requires practice, but the reward is a deeper appreciation for the quality of the ingredients. When the rice and fish are balanced correctly, you can taste the subtle sweetness of the rice and the clean flavor of the fish. This is the foundation of a refined sushi palate, distinguishing true nigiri from the heavier, more complex maki rolls.
Dip soy sauce correctly
Most people dip sushi rice-first into the soy sauce. This is the most common etiquette mistake. The rice acts like a sponge, soaking up too much salt and drowning out the delicate flavor of the fish. It also risks falling apart in the bowl.
To preserve the chef’s balance, flip the piece over. Use your chopsticks or fingers to dip only the fish side into the sauce. This ensures a light, even coating that enhances rather than overpowers the ingredient.
If the sushi already has wasabi applied, you might not need soy sauce at all. Many chefs place the perfect amount of heat directly between the fish and rice. Adding more salt can mask the nuance of the cut.
Think of the soy sauce as a garnish, not a condiment bucket. A light touch allows you to taste the quality of the fish and the vinegared rice. This simple adjustment is essential for building a true sushi palate.
Cleanse the palate between bites
You have finished a rich tuna roll and are reaching for the next piece. Before you take that bite, pause. The goal is to reset your taste buds so you can taste the specific flavor of the next fish, not the ghost of the last one. This is where the palate cleanser comes in.
The role of pickled ginger
Pickled ginger, or gari, is the standard tool for this job. It is not meant to be eaten with the fish, nor is it a side dish to nibble on while you wait. It is a reset button. The sharp acidity of the pickling vinegar cuts through the oils of the fish, while the mild spice of the ginger stimulates saliva production. This washes away residual soy sauce and fat, leaving your tongue neutral and ready for the next flavor profile.
Other effective cleansers
While ginger is the most common option, it is not the only one. If you find ginger too overpowering, plain rice vinegar works well. A small sip of green tea, particularly sencha, also helps. The tannins in the tea provide a similar astringent effect to the vinegar, clearing the palate without adding sweet or spicy notes that might distract from the sushi. Avoid sugary drinks, which coat the tongue and make the next bite taste flat.
The key is moderation. You are not trying to fill your stomach; you are trying to sharpen your senses. Take a small bite of ginger or a sip of tea, wait a moment, and then proceed to the next piece with clarity.
Common rolling mistakes
Even experienced home cooks hit snags when the nori behaves differently than expected. The most frequent errors usually stem from moisture control, filling distribution, or rolling pressure. Fixing these three areas will transform a messy cylinder into a clean, professional-looking roll.
Too much rice
Rice acts as the glue for your roll, but it is also the most common source of structural failure. When you spread more than a thin, even layer, the nori becomes saturated and tears during the roll. More critically, excessive rice creates a dense center that overpowers the delicate flavor of the fish and vegetables. Aim for a layer thin enough to see the dark green nori through it.
Uneven filling placement
A roll collapses or tears when fillings are bunched on one side. The weight imbalance pulls the nori off-axis as you curl it, creating a lopsided cylinder that is difficult to slice cleanly. Distribute your ingredients in a straight, horizontal line across the lower third of the sheet. If you are using long ingredients like cucumber or avocado, slice them into uniform sticks to ensure even density across the width.
Rolling too tight or too loose
The final shape depends on the tension you apply. Rolling too tightly crushes the fillings, squeezing out moisture and making the roll dense and hard to bite. Rolling too loosely results in a fall-apart mess once you attempt to slice it. The goal is a firm, uniform cylinder. Use the bamboo mat to apply consistent, gentle pressure from the front edge backward, letting the nori seal itself without forcing the ingredients.
Watch a sushi rolling demo
Visual learning bridges the gap between theory and muscle memory. Watching a chef’s hands move through the sequence reveals the subtle pressure and angle adjustments that written instructions often miss. This section provides a visual reference for rolling maki and shaping nigiri, reinforcing the techniques you’ve practiced.
The video below demonstrates the proper handling of nori and rice for rolling, as well as the gentle but firm shaping required for nigiri. Observe how the chef keeps the hands wet to prevent sticking and uses minimal rice to let the fish remain the star.
No comments yet. Be the first to share your thoughts!